What a photograph's border says about its decade
Deckled edges, printed borders, rounded corners and borderless prints moved through family photography in a rough, datable sequence. Here is how to read a snapshot's edge and size for an honest decade range, without pretending it is exact.
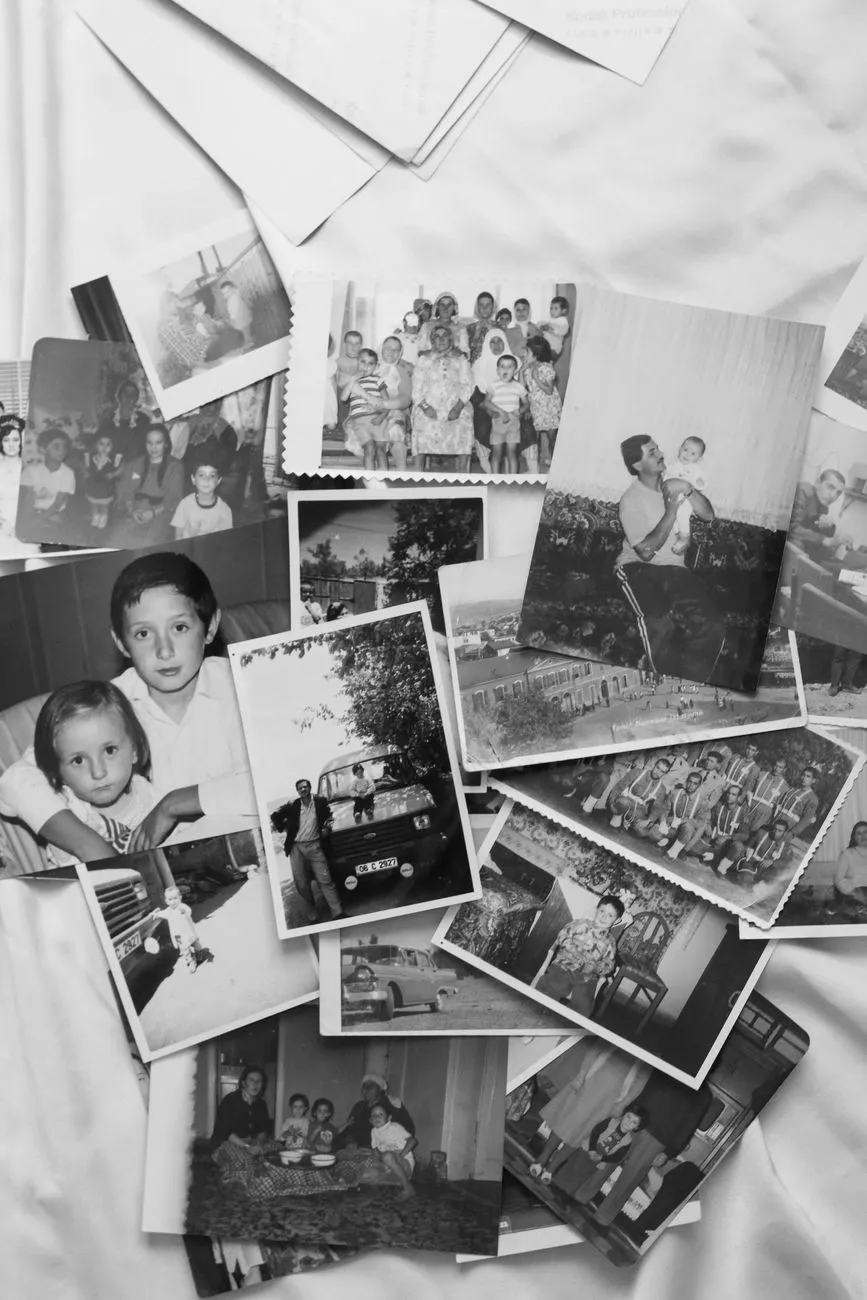
Pick up a handful of loose family snapshots and you will notice, usually without trying, that they do not all look the same around the edges. Some have a scalloped, wavy-cut border. Some have a plain white margin with sharp corners. Some have rounded corners. Some run right to the edge of the print with no border at all. That is not random variation between photofinishers having a stylistic whim. It is a rough timeline, because the equipment and habits of commercial photo printing changed in a broadly datable sequence across the twentieth century, and most family albums carry the evidence without anyone having written it down.
None of this gives you an exact year. What it gives you is a decade range you can combine with other clues, the same way a cabinet card’s mount narrows a studio portrait before anyone looks at who is in it.
Deckled edges: the scalloped look of mid-century prints
A deckled edge is a decorative wavy or zigzag cut along all four sides of a print, made with a special trimming tool rather than a straight blade. It gives a print a slightly fancy, pinked finish instead of a plain rectangle.
This trim shows up on snapshot prints from roughly the late 1930s, and it is most common through the 1940s and into the 1950s. Photofinishing labs offered it as a standard option during those decades, often alongside a plain white border on the same roll of photographs, so it is common to find both styles mixed in one envelope from a single photofinisher.
By the 1960s, deckled trimming becomes much less common as labs moved toward faster, cheaper processing that favoured a plain straight cut. If you are holding a stack of scalloped-edge prints, a reasonable first guess is somewhere in the 1940s to 1950s window, though it is worth treating that as a starting point rather than a conclusion until something else in the picture supports it.
White borders and how their width shifted
A plain white border, printed flat with sharp or lightly rounded corners, is the single most common edge style across family photography, which is exactly why it is the least precise clue on its own. Borders of some width appear continuously from the early 1900s through the 1970s, and the width itself drifted over that stretch rather than snapping between fixed styles.
What is more useful than the border’s presence is its proportion relative to the image. Earlier contact prints, where the print is the same size as the negative, tend to carry a narrower, tighter border. As enlargements became the norm for ordinary snapshot printing in the decades after the Second World War, borders generally grew a little more generous and more uniform in width across a whole batch of prints. Neither of those is a hard rule you can date a single print against with confidence. It is a pattern worth noticing across several prints from the same source, which smooths out one-off variation from a single photofinisher.
Rounded corners against square ones
Rounded corners are a trim option, not a separate era. Many photofinishers offered rounded corners from the 1940s onward, usually alongside a white border, and the style remained common into the 1960s. Square corners never disappeared alongside it. The two were sold side by side for years, sometimes by the same lab in the same month, so corner shape alone tells you less than it looks like it should.
Where rounded corners are genuinely useful is as a tie-breaker alongside other evidence. A scalloped, rounded-corner print with a generous white border is a stronger fit for the 1940s to 1950s window than any one of those features would be by itself.
Borderless prints: the shift to edge-to-edge
Prints with no border at all, the image running straight to the cut edge of the paper, become increasingly common as commercial photofinishing automated through the 1970s and into the 1980s. The rise of fast colour processing and automated minilab printing favoured borderless output, because it was simpler and cheaper to produce at the volume those labs were running.
A borderless print does not by itself mean colour or a specific decade with any precision. What it does tell you fairly reliably is that you are looking at a later piece of home photography rather than an earlier one, since the bordered styles above were already well established before borderless printing became the default at most labs. If a borderless print also carries a small printed date stamp in one corner, often in orange or yellow digits, that is strong, direct evidence rather than a style inference. Those stamps became a common feature of automated printing in the 1980s and read the processing date, close to though not always identical to when the photograph was taken.
Print size is a second, independent clue
The physical size of a print moved through its own rough sequence, somewhat separate from border style, and it is worth reading alongside the edge treatment rather than instead of it. Early contact prints from box cameras came out at whatever size the negative itself was, commonly a few inches on the long side and no larger, because contact printing could not enlarge the image. As home and commercial enlarging became routine after the war, standard snapshot sizes settled into the ranges most people now recognise from their own family albums, moving toward the more uniform rectangular prints that became the everyday standard through the second half of the century.
Treat print size as corroborating evidence rather than a dating method on its own. A family that kept using an older camera, an older lab, or simply preferred a particular print size for years can produce prints that do not match the broad pattern, and that is a real limitation of this kind of evidence rather than an exception worth dismissing.
Reading the clues together without over-trusting any one of them
The honest way to use all of this is as a small panel of weak evidence that strengthens when several pieces agree, not as a single definitive marker.
Start with the edge: deckled, plain bordered, or borderless. Add the corners: rounded or square. Add the print size relative to what you know of the family’s later, more familiar prints. Then bring in the content of the photograph itself, clothing, hairstyles, cars, signage, anything dateable in the frame, and check whether it agrees with the range the physical print is suggesting. Agreement across several independent clues is far more trustworthy than any single one of them, including a clue that feels obvious, like a deckled edge looking automatically mid-century. A family could easily have had prints made at a lab that kept offering an older style well after it had gone out of fashion elsewhere, and a single confident guess will not catch that.
Where the content of the photograph and the physical evidence genuinely disagree, trust neither one blindly. Write down both readings and the gap between them rather than forcing a single answer, the same caution worth applying when identifying the people in the photograph themselves.
Scan before you decide anything
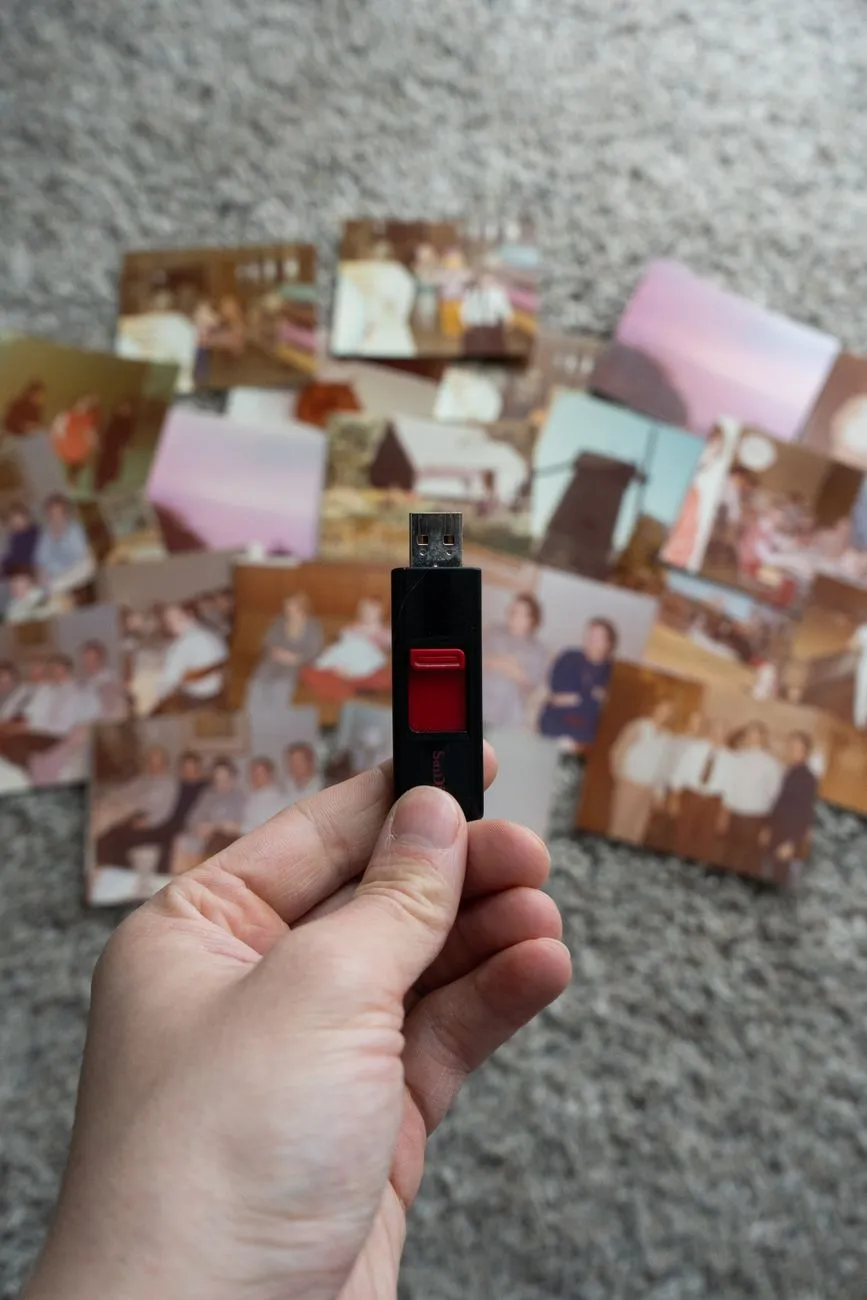
Whatever decade you land on, scan the print before you do anything else with it, backs included. The edge style and any printed date stamp are both evidence worth having in the digital file, not just the image itself, and a deckled or rounded-corner print is easy to crop out of a scan later if you decide you only want the picture. Our scan settings guide has resolution guidance by print size, and the fuller DPI guide covers the rest of the settings worth getting right the first time, since most of these prints are small enough that a low setting leaves real detail uncaptured.
If the print has started to fade along with carrying this kind of dating evidence, which is common on prints this old, our page on faded and darkened photos covers what a scan can recover and what it cannot. Either way, the border and the corners are part of the object you are archiving, in the same way the mount is part of a cabinet card or the back is part of a Polaroid. Keep that evidence in the master scan rather than cropping it away at the one moment you could still capture it.
Common questions
- What decade are deckled edge photos from?
- Deckled, scalloped edges on snapshot prints are mostly a mid-century look. They start appearing from around the late 1930s and are at their most common through the 1940s and 1950s, fading out through the 1960s as photofinishers moved to faster, automated trimming that did not bother with a decorative cut. Treat it as a multi-decade window, not a single year.
- When did photos stop having white borders?
- There is no single date. Plain white borders on prints run from the early twentieth century right through to the 1970s in various widths, and some labs kept offering a bordered option into the 1980s. What actually ended the era was the rise of automated colour minilabs through the 1970s and 1980s, which defaulted to borderless, edge to edge prints because that was faster and cheaper to produce at volume.
- Why do some old photos have rounded corners?
- Rounded corners were a trim style many photofinishers offered from the 1940s onward, often alongside a white border, and they stayed common into the 1960s. A square corner does not rule out that era either, since both styles were sold side by side for years. Corner shape is a supporting clue, not a verdict on its own.
- How accurate is dating a photo by its border or size?
- It gets you a decade range, sometimes a narrower one when combined with other evidence, but it is not exact. Photofinishing styles overlapped for years in any one country, home processing kits followed their own timeline, and a family sometimes kept using an older style of paper or a particular lab well after the trend had moved on elsewhere.