How to get photographs out of a sticky magnetic album
Magnetic albums from the 1970s and 1980s bond photographs to the page as they age. Here is why that happens, three removal methods in order of risk, and when the right answer is to stop pulling and scan the page instead.
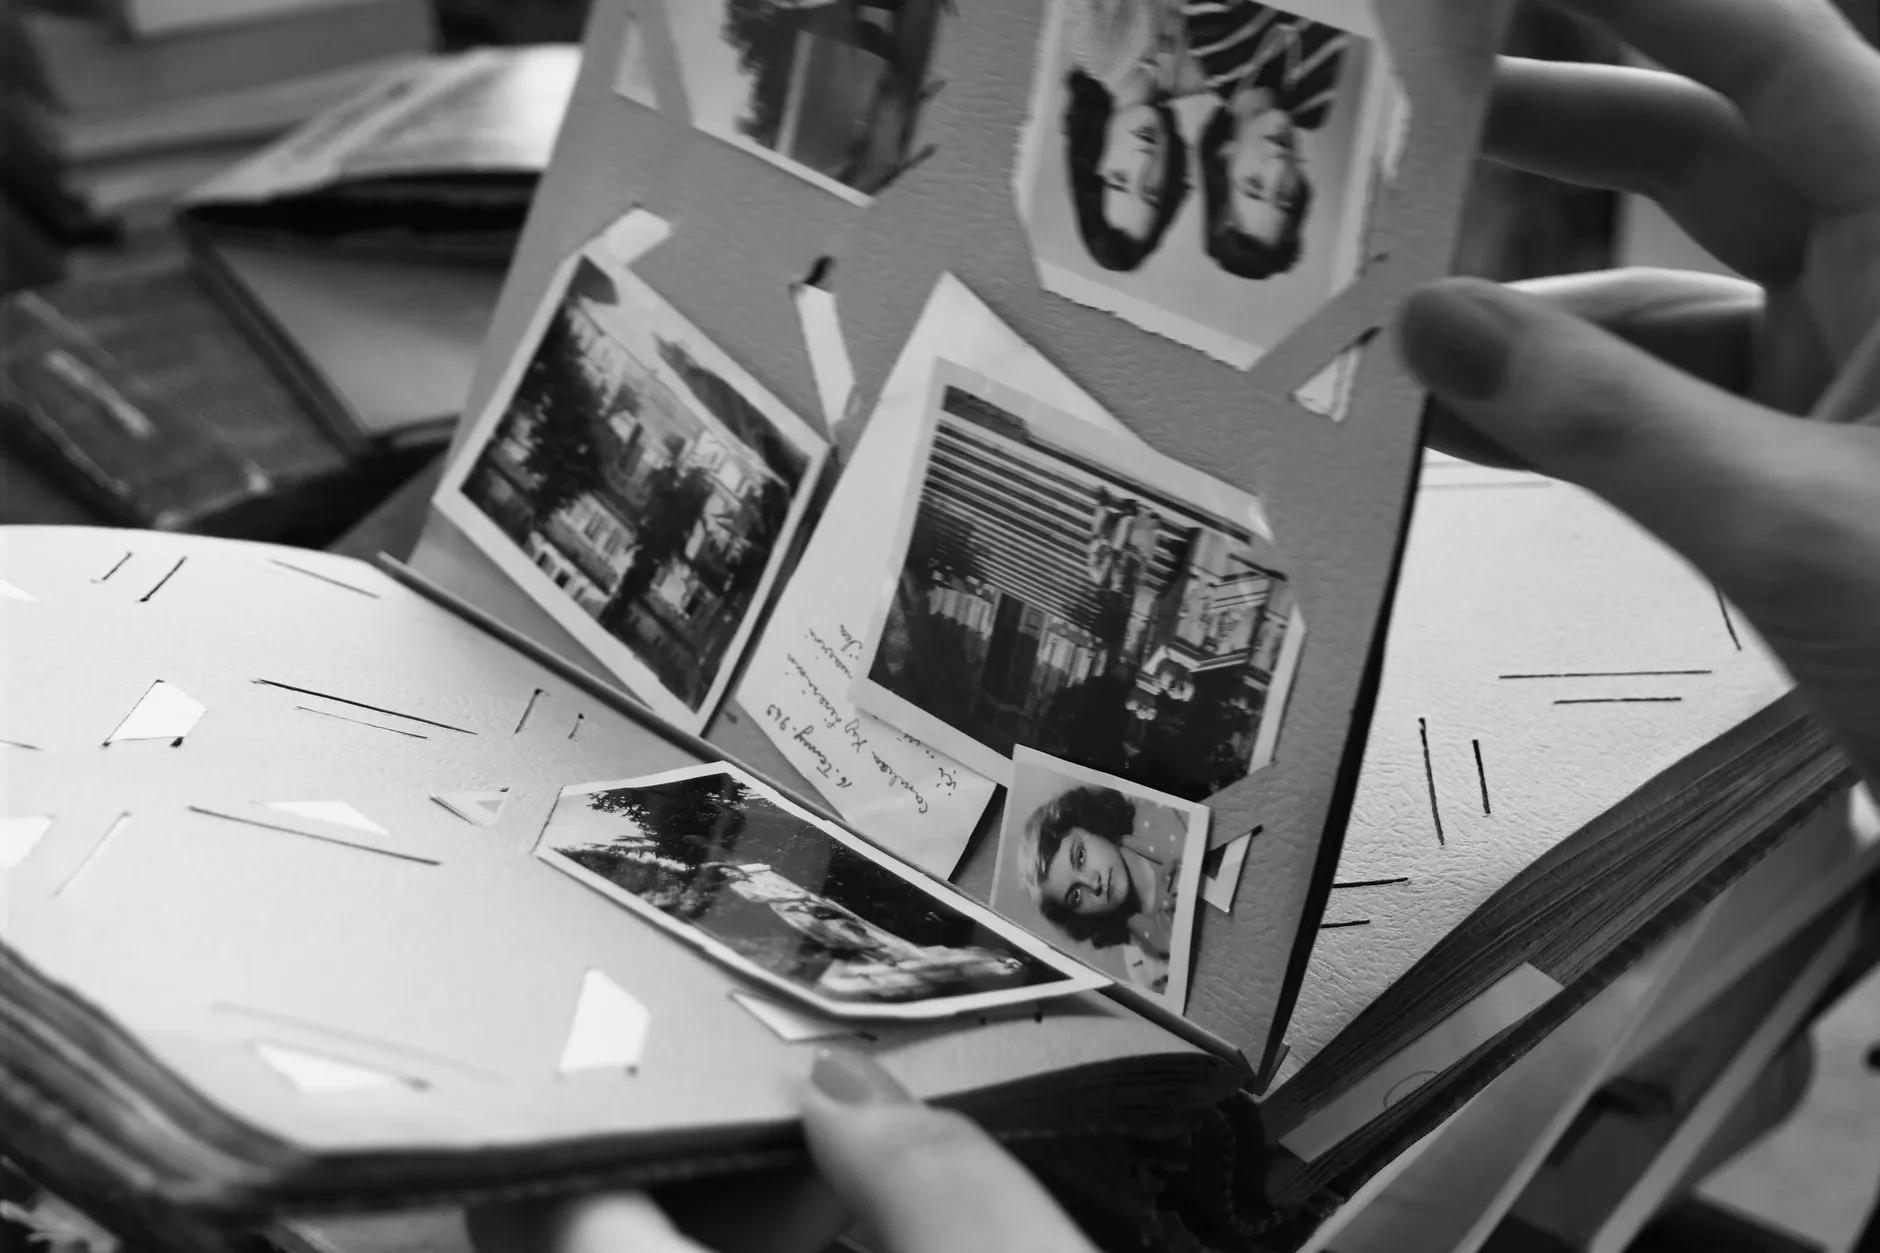
Magnetic photo albums were sold as convenient. No corners to fit, no glue to apply, just press the photo onto the page and fold the clear film over it. That same design is why so many of them are now quietly destroying the photographs inside, one decade at a time.
If you have opened one recently and felt a print resist coming off the page, you already know the problem. Here is why it happens, and how to get photographs out safely, in the order that actually works.
Why these albums do the damage they do
A magnetic album page is not really magnetic. It is a sheet of card coated with an adhesive, covered by a sheet of clear plastic film that presses the photo down and holds it. Two separate problems sit inside that design.
The adhesive never really stops curing. Unlike a glue stick or tape applied once, the coating on a magnetic page keeps reacting chemically for years after manufacture. As it ages it bonds more completely to whatever is pressed against it, which is why a photo that went in easily in 1985 can be almost impossible to remove by now. The bond is not static. It has been getting stronger the whole time the album sat on a shelf.
The plastic film works against the photo from the other side. Cheaper film is often PVC, and PVC releases plasticisers as it ages, chemical compounds that migrate onto whatever surface they are touching. Pressed directly against the image, that means the film can leave the surface yellowed, tacky or fogged even where the photo was never touching the adhesive layer underneath.
Between the two, a print in a magnetic album is being worked on from both sides at once. That is the honest reason these albums are singled out as the worst common storage choice for family photographs, ahead of damp boxes and even direct sunlight.
Scan the page before you touch anything
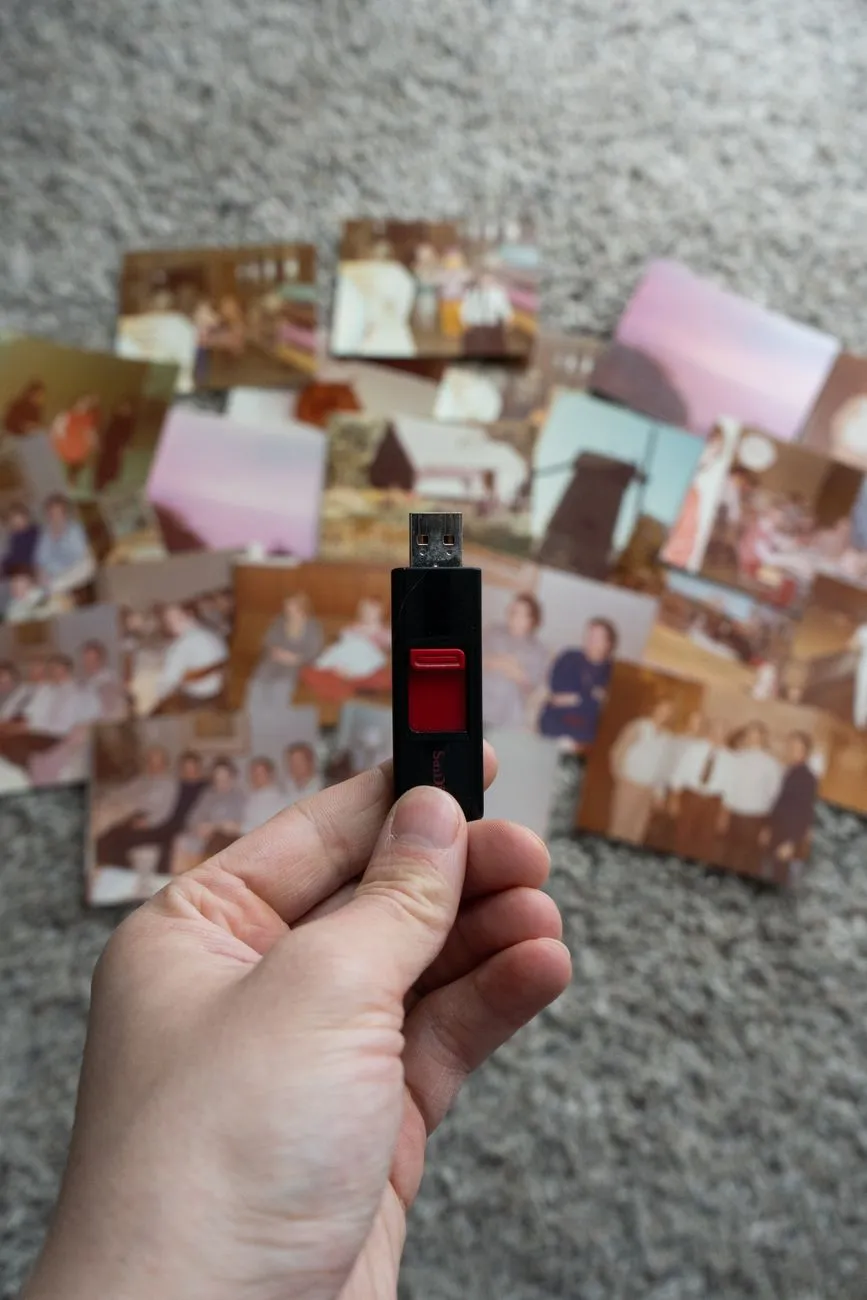
Before any removal attempt, get a digital copy of the page as it is. This single step changes the risk calculation on everything that follows, because once a scan exists, a failed removal costs you the original print’s condition, not the image itself.
Lift the album onto a flatbed scanner if it will lie flat, or photograph the open page straight on with even light if it will not. Either way, scan at 600 DPI or higher; our DPI calculator will confirm the right setting for the print size you are working with. If the whole album is worth digitising this way rather than photo by photo, our guide on how to digitise a photo album without damaging it covers scanning bound pages in place in more detail.
With that scan saved, removal stops being an all-or-nothing gamble. You can attempt it patiently, and if it goes wrong, you still have the picture.
Three ways to free a print, in order of risk
Work through these in order, and stop as soon as one of them works. Do not jump straight to the riskiest method because it seems faster.
1. Patience first. Many prints that resist a straight pull will release with time and almost no force at all. Work a fingernail or a thin plastic card gently under one corner, then let the print’s own weight and small back-and-forth flexing do the work over a few minutes, rather than pulling harder. A surprising number of “stuck” photos come free this way once you stop forcing them.
2. Gentle, indirect warmth second. Adhesive softens slightly with mild warmth, which can loosen a bond that patience alone will not break. A hairdryer on its lowest, coolest setting, held well back from the page for a short burst, is enough. Never apply direct heat close to the print, and never use anything hotter than mildly warm to the touch. Heat that is doing real work is heat that is also damaging the print.
3. Dental floss, last and most carefully. For a print that still will not lift, an unwaxed length of dental floss worked gently side to side underneath the print, like sliding a knife under a cake, can separate it from the page without lifting straight up against the bond. This is the highest-risk method of the three, because floss travelling under the whole surface can catch and tear an already-weakened corner. Go slowly, and stop the moment you feel real resistance rather than pushing through it.
When to stop and leave it on the page
Some photographs will not come free without visible damage, no matter how carefully you work. That is the signal to stop, not to switch to a stronger method.
If a print is tearing, if the surface is coming away in flakes, or if the image layer itself looks like it is separating from the paper backing, leave it exactly where it is. Scan or photograph that page in place at the highest setting you can manage, and treat the digital copy as the version you work with going forward. A photograph that stays imperfect but intact on its original page has not lost anything that a torn removal would not have lost anyway, and it keeps the option of trying again later, possibly with better tools or more patience, open.
What to do with a freed print immediately
A photograph that comes off a magnetic page rarely comes off clean. Expect some residue along the edges or across the back, sometimes a faint tackiness that persists for weeks even after removal, and occasionally a thin haze across the surface from the plastic film. Do not try to clean this off with solvents or a damp cloth. Solvents strong enough to dissolve old adhesive are also strong enough to damage the image layer underneath it, which trades one problem for a worse one.
The safer plan is to store the freed print somewhere flat and separate from other photographs, interleaved with a sheet of acid-free paper so any remaining tackiness cannot bond it to its new neighbour the same way it bonded to the album. Our guide on how to store old photographs covers safe materials and where in a house to keep them.
Any staining left behind by the adhesive itself, a faded patch or a darker outline where the glue sat longest, is a genuine repair candidate rather than a lost cause. Our page on dark stains on old photos covers what digital restoration can recover from marks like this, working from the scan you already made.
The plan, in short
- Scan or photograph the page before removing anything.
- Try patience, then gentle warmth, then dental floss, in that order, and stop as soon as one works.
- If a print resists all three without damage-free progress, leave it on the page and scan it there instead.
- Store any freed print flat, separated, and untouched by solvents, and treat leftover staining as something the scan can still fix.
The album did the slow damage over decades. There is no need to add a fast mistake on top of it. A patient removal, or an honest decision not to remove a print at all, both end with the photograph safe. A forced one does not.
Common questions
- Why do photos stick so hard to magnetic album pages?
- The adhesive under the clear plastic film never fully cures. It keeps working for decades, bonding harder to the back of the print each year, while the plastic film itself often contains PVC, which releases plasticisers onto the image surface from the front. The photo is being attacked from both sides at once, which is why older magnetic albums are worse than recent ones.
- Is it ever safe to just pull a photo off a sticky page?
- Only if it lifts with almost no resistance. Any real pull means the emulsion is bonding to the adhesive, and continuing will strip part of the image away with the page. The safest habit is to test gently at one corner first and stop the instant you feel resistance, rather than committing to a pull you cannot undo.
- Can a photo be saved once it has torn coming off a sticky page?
- Often, yes, if you scan what remains before doing anything else. A partial tear removes some image information permanently, but AI restoration works from what survives in the scan, and a torn corner or stripped patch is frequently recoverable enough for a usable result. What is gone from the print is gone; the scan is what gets repaired.
- Should I remove every photo from a magnetic album, or leave some in place?
- Leave anything that will not lift easily. There is no prize for an empty album and a shelf of ruined prints. Scan the stubborn pages in place instead, at 600 DPI or higher, and you keep a full-quality digital copy without gambling the original.