How to digitise a whole photo album without damaging it
Scanning loose prints is one problem. A bound album is a different one, because the thing holding the photographs can be worth more than the photographs. Here is how to get every page digitised without cracking a spine or losing the order.
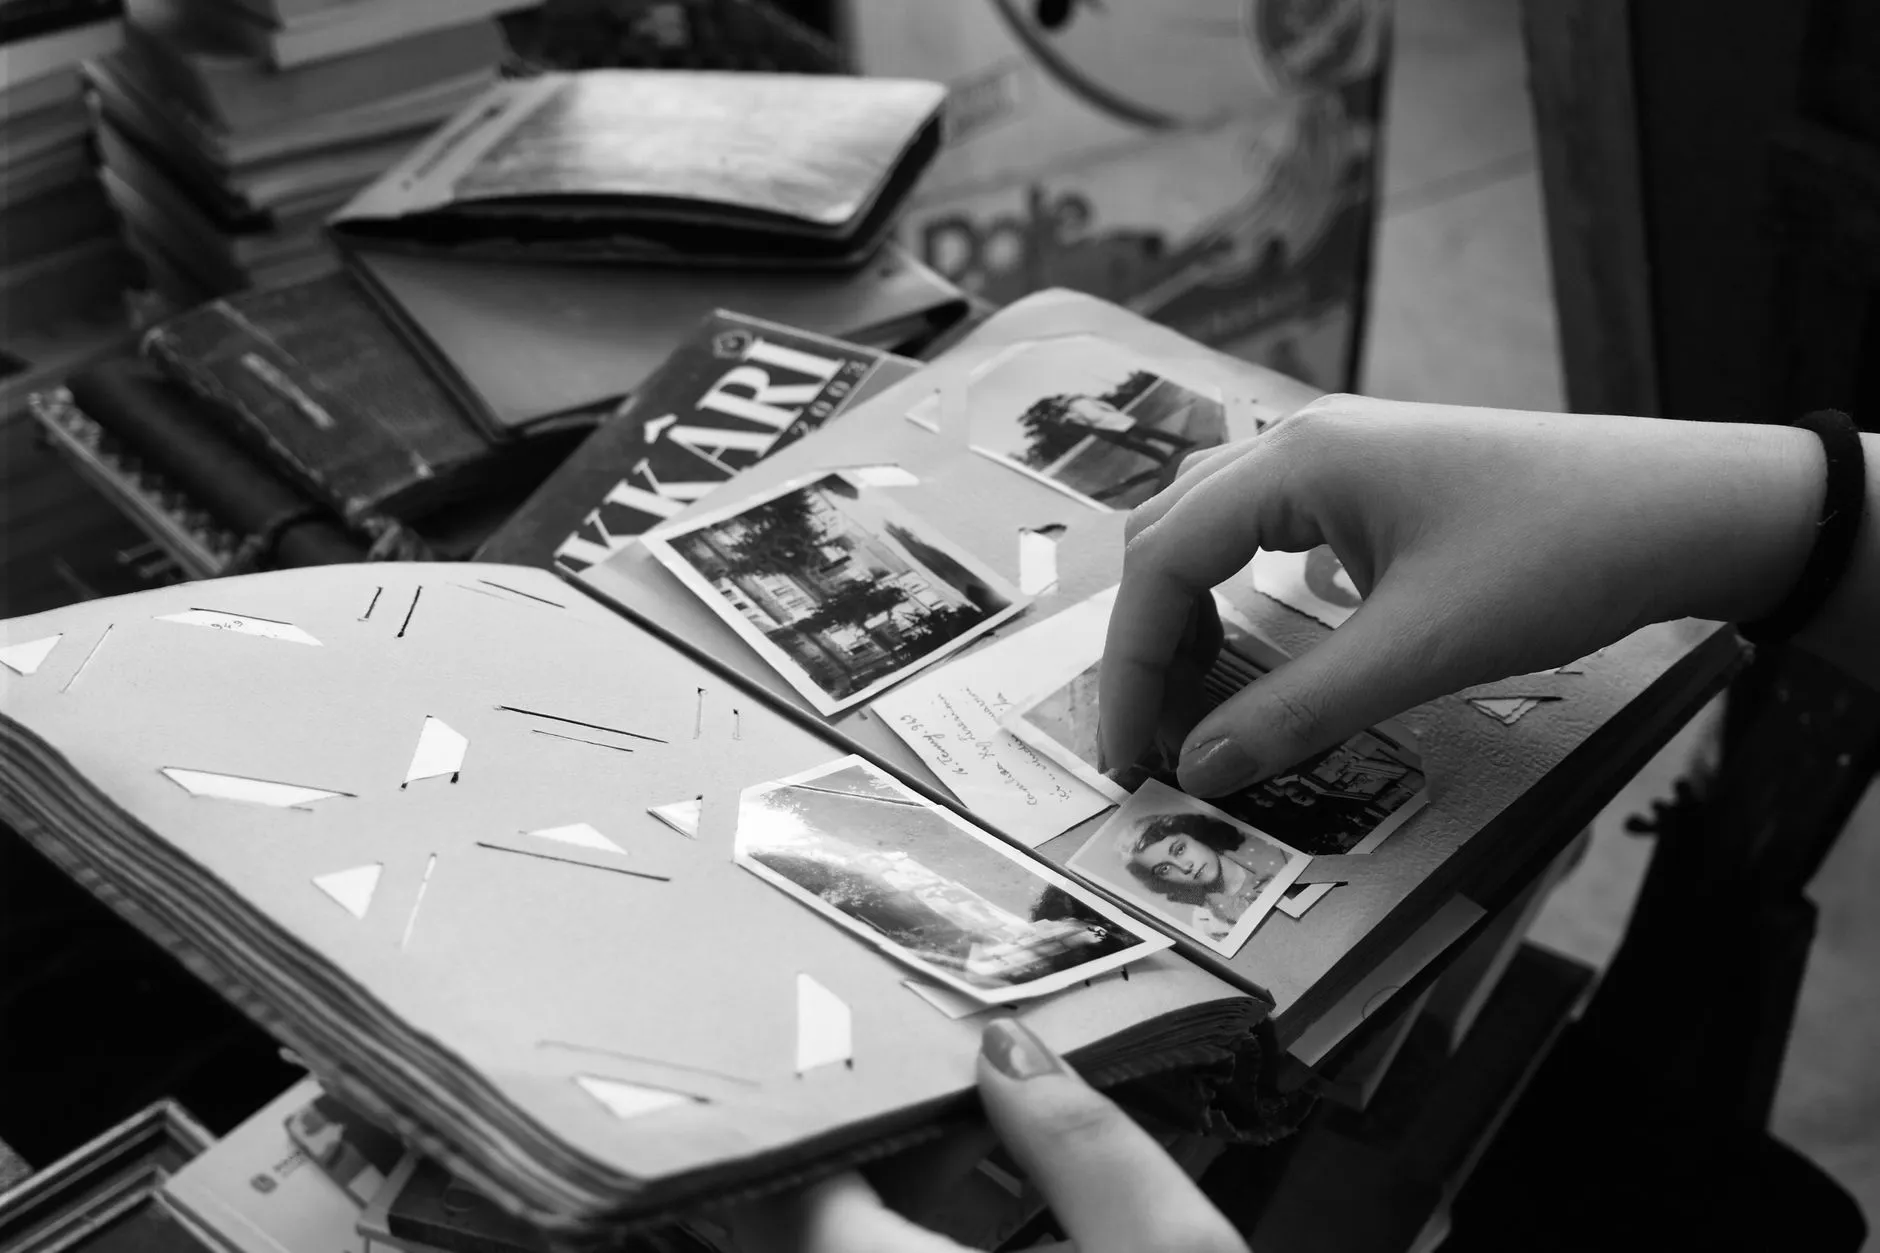
A shoebox of loose prints is a scanning problem. A bound album is a different one, because the object holding the photographs is not neutral packaging. It can be handwritten, sequenced, decades old in its own right, and in some cases worth more intact than the photographs would be loose. Digitising it well means treating the album as evidence, not just a container to empty.
Decide first whether the album is the artefact
Before anything gets scanned, look at what you are actually holding. Some albums are simply storage: plastic sleeves or a modern binder with nothing of its own to lose. Take the prints out, scan them properly, and the album itself was never the point.
Other albums are not that. A magnetic-page album from the 1970s with your grandmother’s handwriting under each photo, a leather-bound Victorian album with tooled corners, a scrapbook where captions and tickets and pressed flowers sit alongside the pictures, these are objects in their own right. The sequence, the handwriting, the paper stock and the binding are all information that a stack of loose prints does not carry. If you pull every photo out to scan it flat, you get the pictures back and lose everything else the album was recording.
The test is simple: if emptying the album would make it worthless, the album is the artefact, and it stays intact. Scan or photograph pages in place, and only remove a print if it lifts freely and you have a reason to.
Scanning a page in place, and the lid problem
If the album opens close to flat and fits on your scanner bed, scanning pages in place works well. The complication is the lid. A closed scanner lid presses the far side of an open book down onto the glass to get it flat, and on an old album that pressure is exactly what stresses the spine and can crack a binding that has gone brittle.
Two ways around it. Some scanners let you remove the lid entirely, in which case you rest the open page on the glass and hold the rest of the album up and away by hand, using only the book’s own weight rather than the lid’s pressure to keep the photographed page flat. If the lid will not come off, scan with it open and accept a slightly darker, less even result, then fix the exposure afterwards. A slightly imperfect scan of an intact album is a better outcome than a perfect scan of a broken one.
Either way, do not force a page flatter than the binding wants to go. If a page will not lie down without real resistance, that resistance is the album telling you to photograph it instead.
When a camera on a copy stand beats the scanner
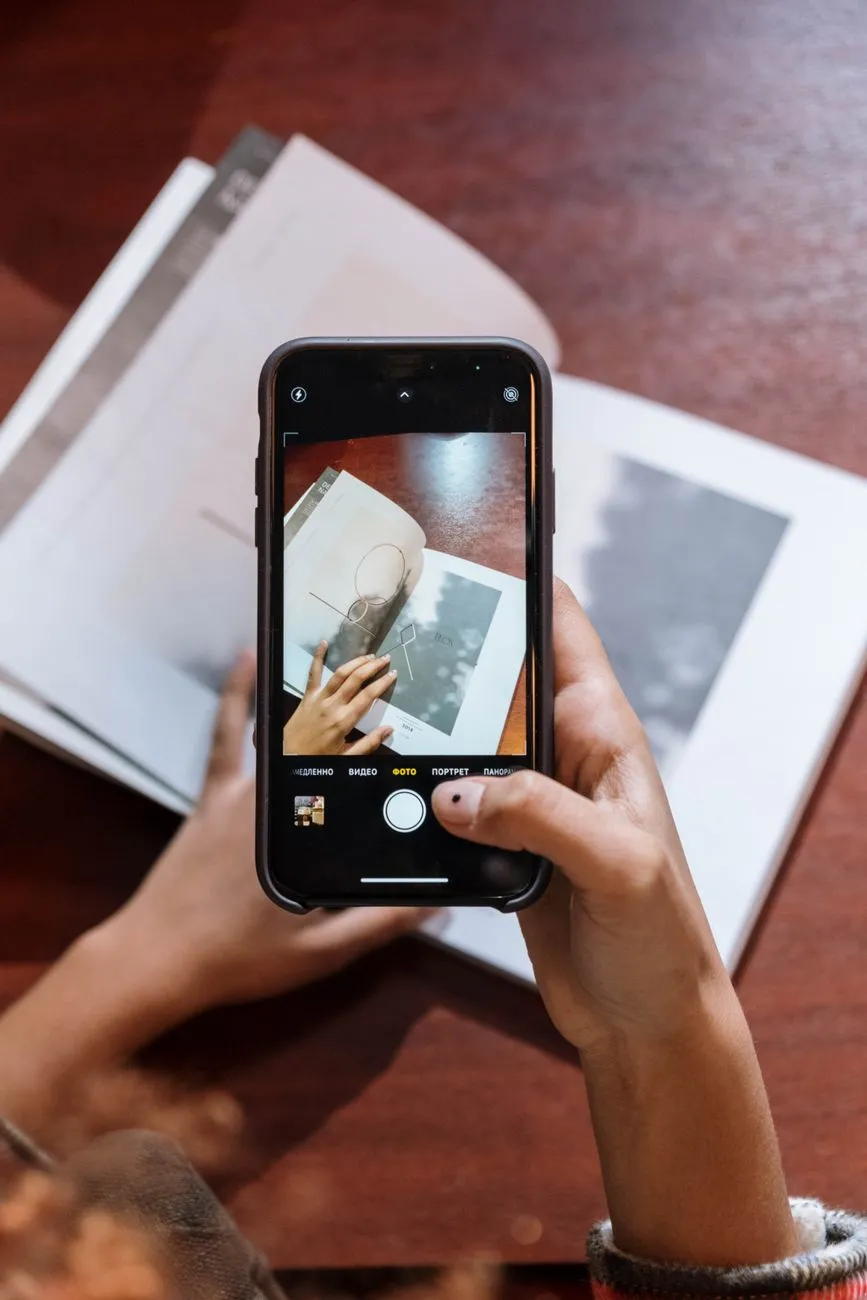
For anything thick, tightly bound, oversized, or simply reluctant to open past a shallow angle, stop trying to make it fit a flatbed and photograph it instead. A copy stand, a tripod with a horizontal arm, or even a phone mounted above a table all do the same job: the album rests naturally, open to whatever angle it settles at, and the camera looks straight down rather than the page being forced onto glass.
This is slower than scanning and it needs even light, two sources at roughly forty five degrees so the page’s texture does not throw a shadow across the image, with the room’s overhead light and any window light kept out of the shot. It also needs the camera dead level over the page, because a page photographed at an angle records as a trapezoid, not a rectangle, and that has to be corrected afterwards.
What you get back is real: no lid pressure at all, natural page curvature recorded honestly rather than fought, and a method that scales to any album size a scanner bed cannot handle. Our scan or photograph decision guide covers the resolution side of this trade in more detail, and the same DPI calculator that advises a scanner setting also gives you a target resolution to aim a camera capture at, so the two methods end up comparable rather than one being a guess.
Keep the page order in the filenames
Do the whole album in page order, start to finish, in one sitting if you can manage it. The moment you skip around, pages get missed or photographed twice, and there is no way to tell afterwards which is which.
Name files as you go with the page number first: p01-left.jpg,
p01-right.jpg, p02-left.jpg, and so on, rather than relying on file
creation time or renaming everything at the end. A folder sorted this way
reconstructs the album’s sequence perfectly even after every file has been
opened, edited, and saved a dozen times, which resets creation dates and
makes chronological sorting useless.
This matters more than it looks like it should, because sequence is often the only dating evidence an album carries. A photograph two pages after a labelled wedding picture is very probably from around the same year, even with nothing written on it. Once the pages are separated and shuffled into a general photo library, that adjacency is gone for good and cannot be recovered by looking at the images themselves.
Capture the whole page, not just the photos
Scan or photograph each page complete: captions, tape residue, blank corners, the lot. It is tempting to crop straight to each photograph and save the trouble, but the full page is the more complete record, and individual photos can always be cropped out of that master afterwards at no cost. Do it the other way round, crop first and keep only the photos, and handwritten captions and dates disappear permanently along with the cardboard they were written on.
If a page has visible dirt or foxing on the mount itself, that is a separate problem from the photographs sitting on it. Our guide to surface dirt and grime covers what digital cleaning can safely recover once you have a good capture to work from. The capture comes first regardless of what state the page is in.
What this looks like as a plan
For most albums, this is the order that gets through the job without damaging anything:
- Decide whether the album stays bound, photo by photo, page by page. Do not assume the whole book is one answer.
- Pick scanner or camera per page based on how the book actually opens, not on which method you started with.
- Work start to finish in order, and name files with the page number as you shoot.
- Capture full pages before cropping anything.
- Only remove a print if it lifts freely and you have a specific reason to, such as restoring a damaged one.
An album survives its owners for a reason: it was built to be handled gently and read slowly. Digitising it well means doing the same thing with a lens instead of a hand, and finishing with both the pictures and the book they came from still intact.
Common questions
- Can I take the photos out of an old album to scan them properly?
- Sometimes, but check what kind of album it is first. Photo corners and simple sleeves usually release a print without damage. Magnetic pages and glued mounts often do not, and pulling can tear the print or strip its surface. If removal risks damage, scan or photograph the page in place instead.
- Is it better to scan or photograph an open album?
- A flatbed scanner works fine for an album that opens flat and fits on the glass. For anything else, thick albums, curved spines, oversized pages, a camera on a copy stand or tripod captures the page without forcing the book flat, which is the move that cracks old bindings.
- How do I keep track of which photo came from which page?
- Photograph or scan the pages in order and name the files with the page number as you go, before you touch anything else. Page order is often the only record of who is in a picture and roughly when it was taken, and it cannot be reconstructed later from the images alone.
- Should I scan the whole album page, blank borders included, or crop to each photo?
- Capture the whole page first, captions, tape marks, blank corners and all, then crop individual photos from that master afterwards if you want single images too. The full page is the more complete record, and cropping later costs nothing. Cropping first throws information away for good.