How to print and frame a restored photo
A restored photograph that lives only on a phone has not really been rescued. How large you can print, which paper suits which image, what glazing actually protects, and where in the house a framed photograph survives.
Print from the restored file rather than the original, at roughly your pixel width divided by 300 for a close-viewed print, on matte or lustre paper, behind UV-filtering glazing with an acid-free mat, hung on an interior wall out of direct sunlight and away from heat. Put the original print into dark, dry storage. The framed copy takes the damage from now on.
Everything after a restoration tends to be treated as a detail, and it is not. The decisions in this guide determine whether the photograph you just rescued lasts another generation or fades again in a decade on a sunny wall.
Work out how large you can print
Print size is arithmetic, not judgement. The file has a fixed number of pixels and the print has a physical width, so the only variable is how many pixels land in each inch.
300 pixels per inch is the comfortable standard for a photograph held in the hand or viewed close, such as a framed print on a desk or a hallway you walk past at arm’s length.
150 pixels per inch is fine for a large print seen from a metre or more, which is how wall art is actually looked at. Halving the density doubles the width you can print at.
So a file 3000 pixels across is a confident ten inch print and a perfectly good twenty inch one above a sideboard. Our pixels to print size calculator does this both ways, and the enlargement calculator answers the related question of how far a given scan can be pushed.
If the answer comes back smaller than you wanted, the fix is almost always upstream rather than downstream. Rescan the original at a higher resolution and the ceiling lifts, which is the argument made in full in what DPI to scan old photos at. Enlarging a small file with software produces inferred detail, not recovered detail, and at print size that difference stops being subtle.
Choose the paper
Paper changes how a restored photograph reads more than most people expect.
Matte is the default we would pick for old photographs. It absorbs light rather than bouncing it, which suppresses the faint seams where damage was reconstructed, handles grain sympathetically, and stays readable under a lamp. It is also the finish most like the photographic papers these images were originally printed on.
Lustre or satin is the reasonable middle: a little more depth in the blacks than matte, far fewer reflections than gloss. A good choice for a portrait that needs some presence.
Gloss is the one to avoid here. It shows every reconstruction, every retouched edge and every speck, and behind glass it turns into a mirror of the room. It suits modern colour photography and flatters almost no restoration.
Fine art cotton papers are worth it for a photograph that is going to be the piece in a room. They are more expensive, they hold detail beautifully, and they last.
Two other things to ask a lab. Pigment inks last longer than dye inks, so ask which they use if they offer a choice. And ask for no automatic correction, because a lab that brightens and sharpens on autopilot will undo the tonal decisions you just made.
Frame it so it survives
A frame is not decoration for a photograph, it is a small climate.
Acid-free mat and backing. Ordinary card is acidic and will mark a print over the years, usually as a brown line exactly where the mat window sat. Ask for conservation or museum grade, which costs little more.
A mat rather than glass on the surface. The mat’s real job is to hold the print away from the glazing. A photograph pressed against glass can stick to it over time in humidity, and separating them later destroys the surface, as our guide on freeing a photo stuck to glass explains in uncomfortable detail.
UV-filtering glazing. Light is what fades photographs, and a framed photograph takes all of it, every day, for years. UV glass or UV acrylic slows that markedly. Acrylic is lighter, safer over a bed or a sofa and safer in a large size, and scratches more easily. Glass is harder wearing and heavier.
Mount with corners, not glue. Photo corners and archival mounting strips hold a print without adhesive touching it, and they let it be removed intact. Spray adhesive, tape and dry mounting are permanent and are a decision made on your behalf by whoever framed it.
Because you are framing a print rather than the irreplaceable original, none of this is precious about the paper itself. It is about the framed copy staying good for decades rather than needing redoing in five years.
Where to hang it
The three things that destroy photographs are light, heat and humidity swings, and most houses offer all three somewhere obvious.
Avoid direct sunlight, including the patch of wall that catches the sun for an hour in late afternoon. That hour a day is enough over years.
Avoid above a fireplace or a radiator. It is the most popular spot in most rooms and one of the worst, combining heat with a daily temperature cycle.
Avoid bathrooms and kitchens. Steam, grease and humidity swings. Mould is the one photo problem that is alive and spreading, as our mould page sets out, and damp rooms are where it starts.
Avoid damp exterior walls, particularly in older houses and particularly on the cold side of the building.
An interior wall in a room that gets used, lit by lamps rather than a window, is the answer. If the only place you want it is bright, that is a good reason to hang a print you can cheerfully reprint in ten years rather than something precious.
Put the original away properly
The point of framing a copy is that the original never goes back on a wall.
Store it flat, in the dark, in acid-free enclosures, in the living part of the house rather than an attic, a garage or a basement, at moderate stable humidity. Our guide on how to store old photographs is the full version, and whether plastic sleeves are safe answers the question most people ask next, because the wrong plastic is worse than no sleeve at all.
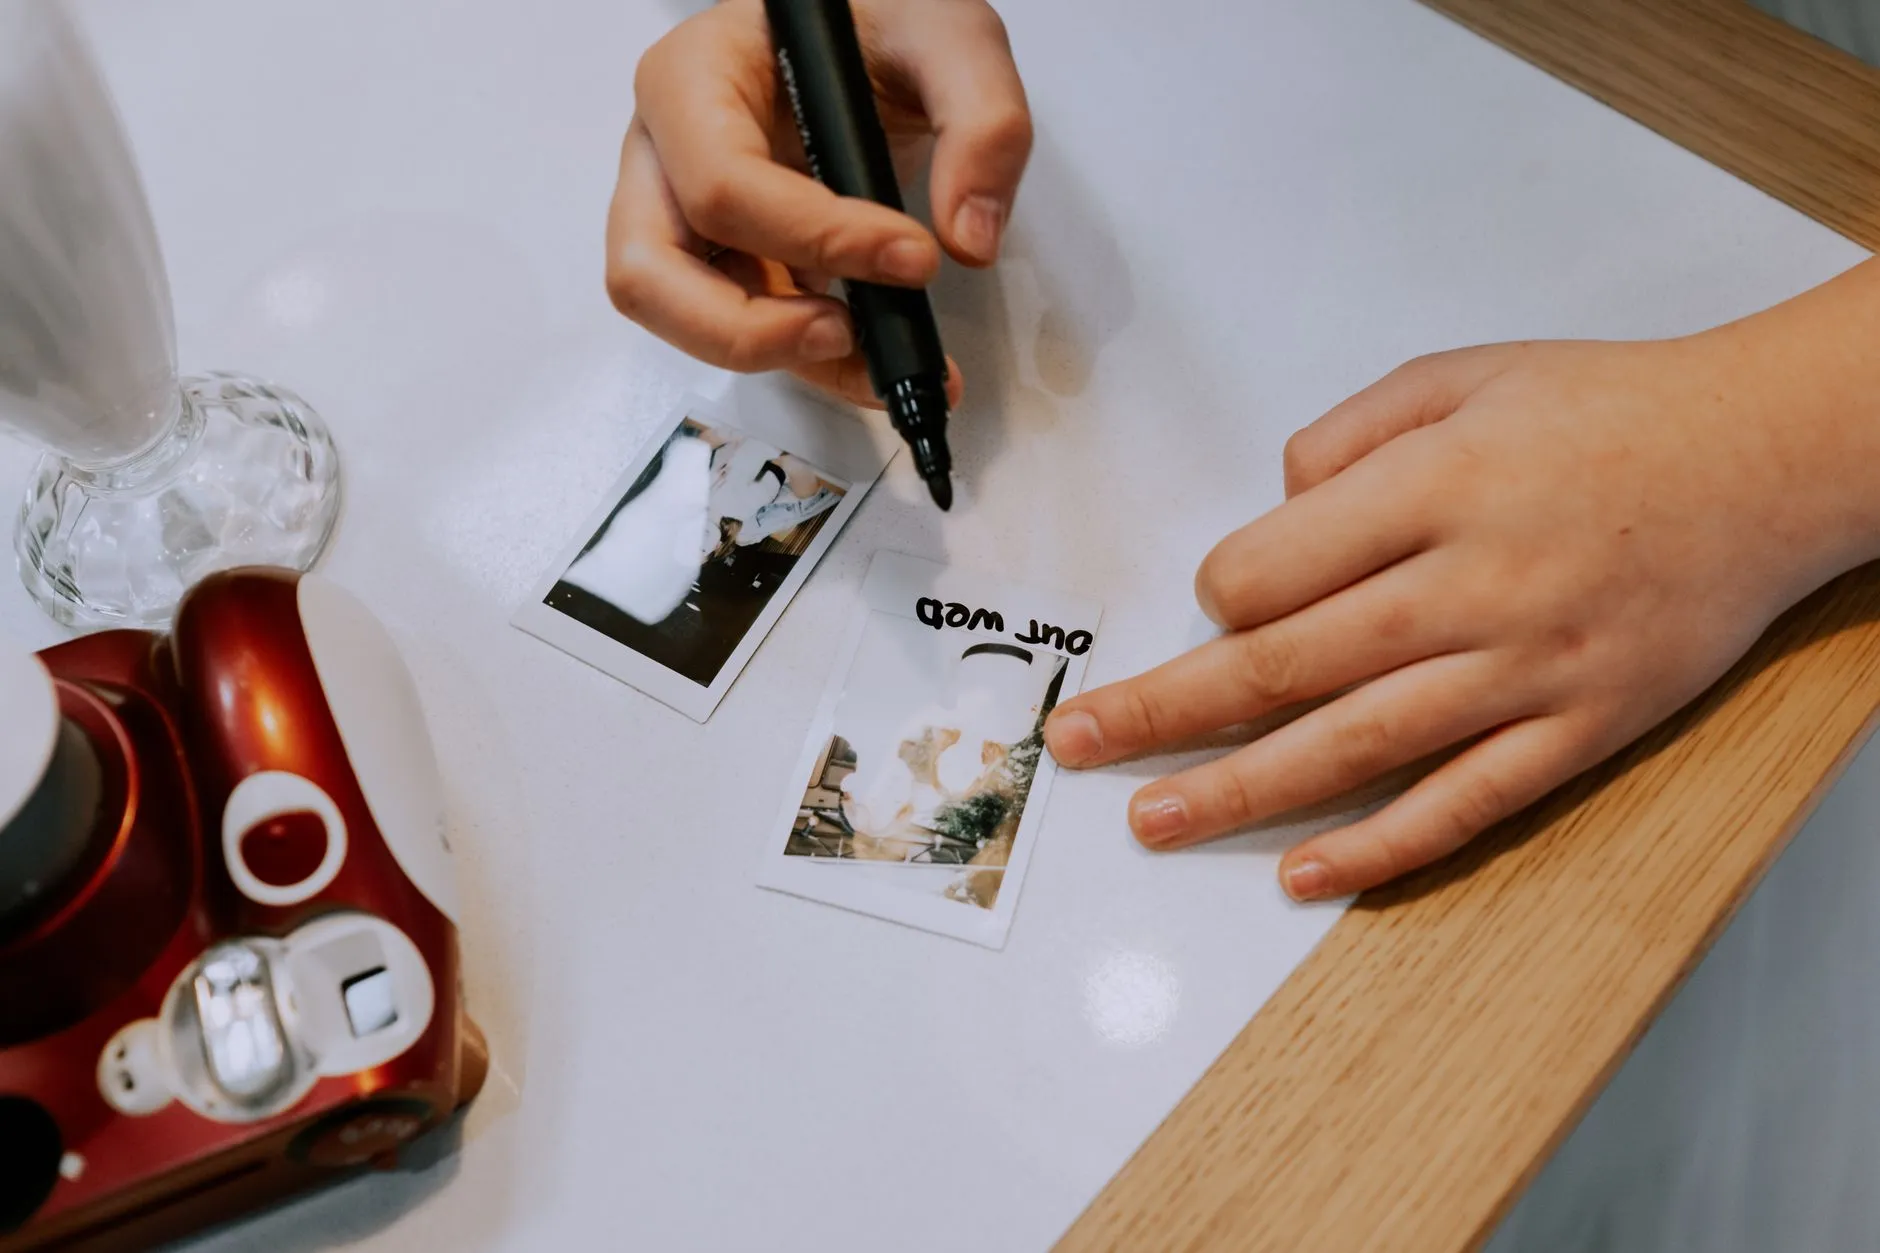
Label it so the next person knows what it is, without writing on the image side or pressing hard, which is covered in labelling old photos without damaging them.
Keep the file, not just the print
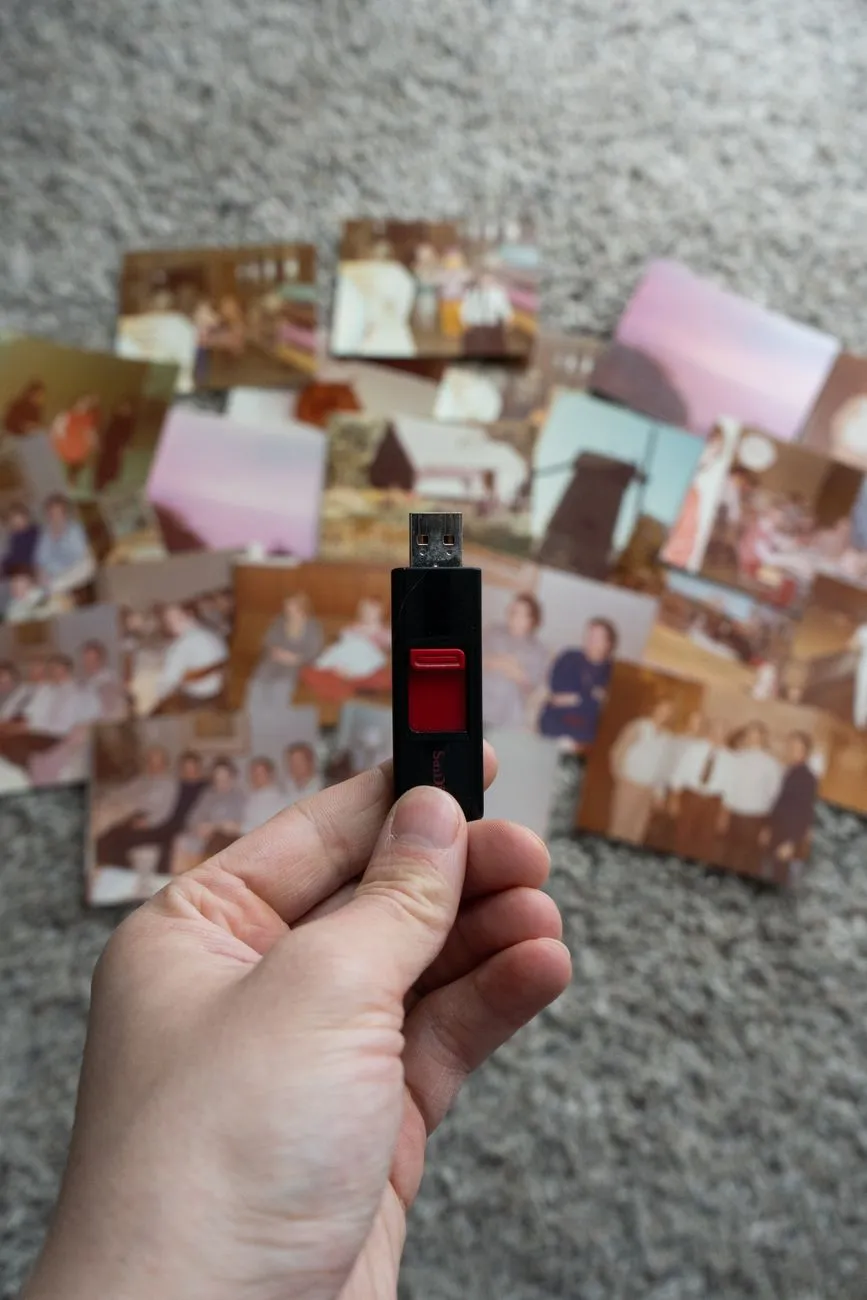
A print is a copy, not a backup. Keep three things after a restoration: the untouched capture, the restored file, and a note of what you did.
Back all of it up in more than one place, because a single hard drive is not a backup, and backing up scanned family photos sets out an arrangement that survives a house fire as well as a disk failure. With the file safe, a lost or damaged print is an inconvenience rather than a second loss.
Photo Restore, our iPhone and iPad app, is the front half of this: capture the print, restore it, and export a file at full resolution for the lab. The back half, the paper, the glazing and the wall, is the part that decides how long the result survives, and it is worth the afternoon.
Common questions
- How large can I print a restored photo?
- Divide the pixel width of your file by 300 to get a comfortable print width in inches at high quality, and by 150 for a print viewed from a metre or more away. A file that is 3000 pixels across is a confident ten inch print and a reasonable twenty inch one on a wall. Our print size calculator does the arithmetic both ways.
- What paper should I print a restored family photo on?
- Matte or lustre for old prints, in almost every case. Gloss shows every reconstruction seam and every trace of grain, and reflects the room back at the viewer under glass. Matte flatters an old photograph and keeps the eye on the face. Ask for pigment inks rather than dye if the lab offers the choice, because they last longer.
- Is UV glass worth paying for?
- For anything hanging in daylight, yes. Light is what fades photographs, and the framed copy takes all of it. UV-filtering glazing slows that considerably. Acrylic is the safer choice for large frames and anywhere a falling frame could hurt someone, and it is lighter, though it scratches more easily than glass.
- Should I frame the original photograph or a print of the restoration?
- Frame the print. The original belongs in dark, dry, acid-free storage where it stops deteriorating. Displaying an irreplaceable photograph means putting it under light for years, which is how it became faded in the first place. Display a copy, keep the original, and reprint whenever you like.
- Where should I not hang a restored photograph?
- Direct sunlight, above a fireplace or radiator, in a bathroom or kitchen, and on a damp exterior wall. Heat, humidity swings and light are what destroy photographs, and all four of those spots deliver at least one of them daily. An interior wall in a room you actually use is the right answer.