How to label old photos without damaging them
The wrong pen can ruin a photograph faster than forty years in an attic. Here is which pencil actually works, where to write, and why the safest place to put a caption is not on the print at all.
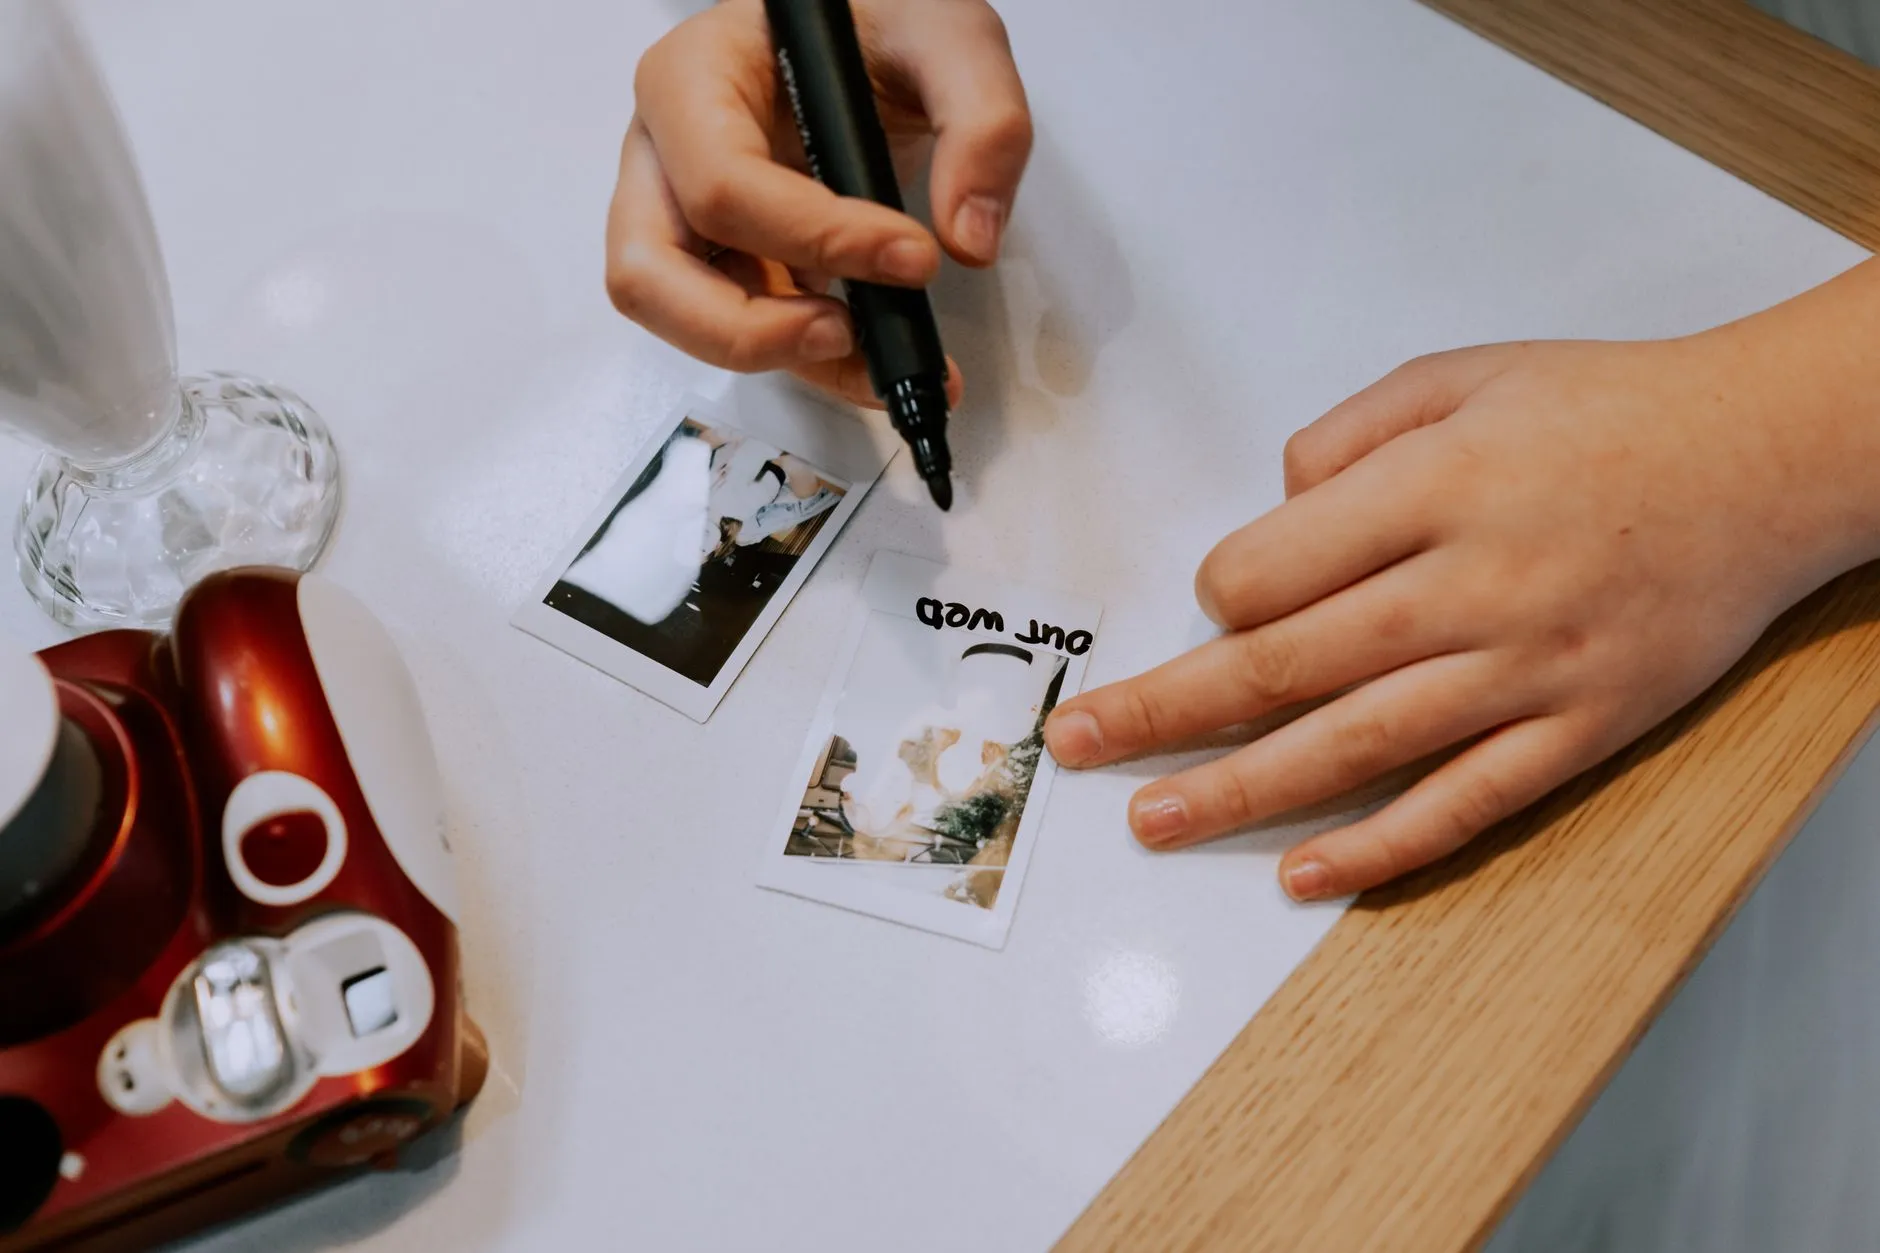
Somewhere in most family collections is a photograph with a name written on the back in ballpoint pen, pressed hard enough that you can see the ghost of the letters on the front if you tilt it to the light. Whoever wrote it was doing the right thing. Photographs without names are the ones nobody can place fifty years later. They just used the wrong pen.
Labelling old photographs is worth doing well, because a caption is often the only thing standing between a face and total anonymity. It is also easy to do badly in a way that only shows up years after the ink has dried.
Why the pen matters more than people think
Two failures account for almost every ruined caption, and both take years to appear.
Ballpoint pen embosses. The pressure needed to make a ballpoint write leaves a groove in the paper, and that groove telegraphs through to the front of the print as a faint ridge or shadow line. You will not see it the day you write it. You will see it in a scan, once the image is enlarged on a screen and the light catches the emulsion at an angle.
Marker and felt tip bleed. Photographic paper is not designed to hold ink the way writing paper is. Given years and a bit of humidity, marker ink can migrate through the fibres, and on resin coated paper it sometimes bleeds sideways along the coating rather than straight through, turning a small note into a smudged patch.
The fix is a soft pencil, roughly a 2B. It writes with almost no pressure, it never bleeds because there is nothing wet in it, and if you get the placement wrong you can erase it without a trace. It is the one tool that fails safely.
Where to write, and how hard
Write along one edge of the back, never in the middle, and never over an area that lines up with a face on the front. A centimetre margin from every edge is enough to avoid the corners, which are handled the most over a photograph’s life and wear fastest.
Support the print on something hard and flat while you write, a table or a clipboard, never your palm and never on top of another photograph. Pencil pressure that seems trivial on a solid surface will still emboss the print sitting underneath it if you write on a stack.
Keep the note short: a name, a rough year, and who told you if you were not there yourself. “Told by Nan, 2026” is a small phrase that carries real weight, because it separates what is known from what is remembered, which matters the moment two relatives disagree.
What actually belongs in a caption
The instinct is to write a name and stop. Two more details make a caption far more useful later, and they cost one extra line.
Who told you. A caption written with confidence looks identical whether it came from someone who was in the room or from a guess made forty years afterward. Recording the source lets a descendant weigh the claim instead of inheriting it as fact.
How sure you are. “Possibly the Wilson farm” is honest and useful. “The Wilson farm” with no hedge, when you were actually guessing, is the kind of confident wrong label that outlives everyone who could have corrected it.
The better answer for a collection you are scanning
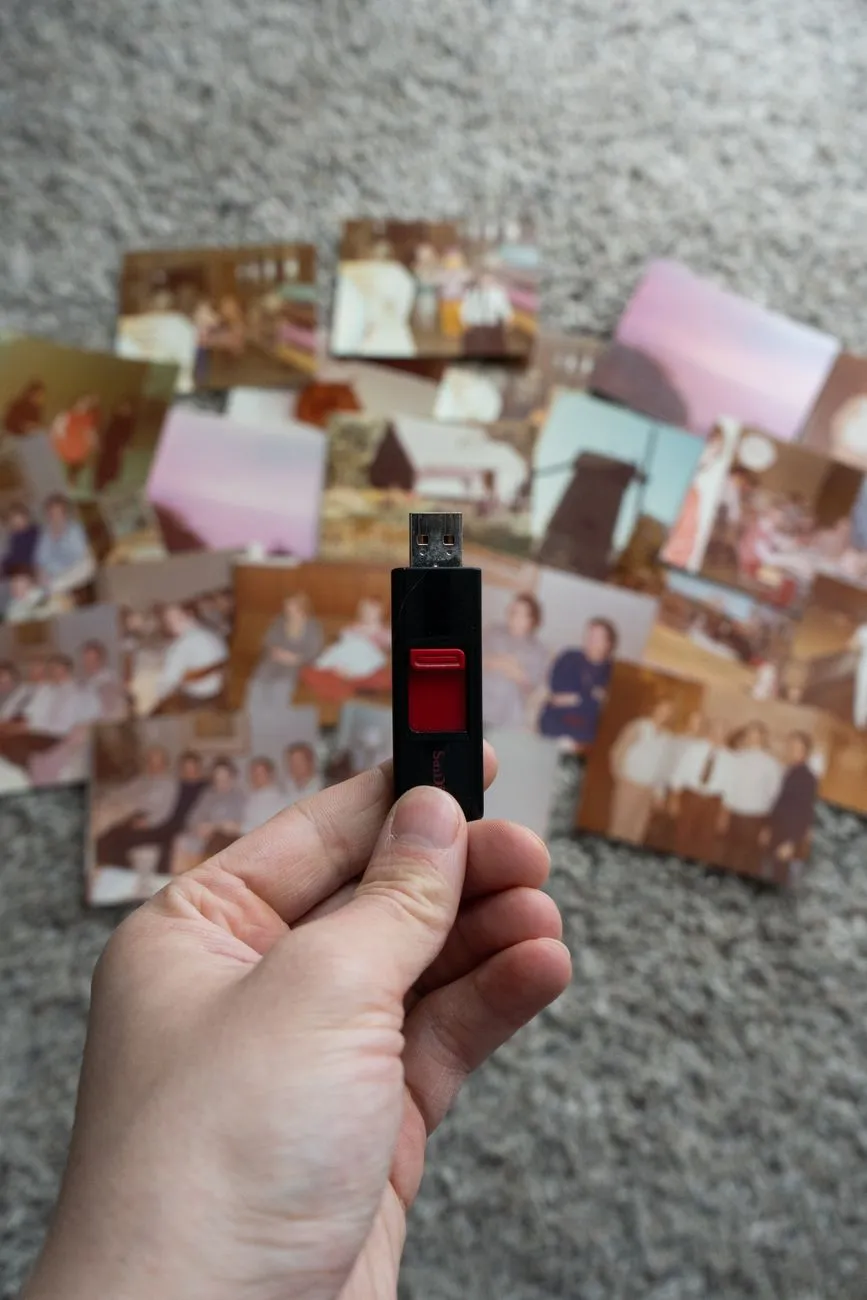
If you are working through a box with a scanner rather than labelling prints you intend to keep loose, the strongest move is to stop writing on the paper at all and caption the file instead.
A filename or the file’s own metadata field never bleeds, never embosses, and holds far more information than the back of a print ever could, a full sentence instead of three words squeezed into a margin. It also survives being copied, backed up and shared in a way a pencil note on a single physical object cannot. Our guide on backing up scanned family photos covers where those files should actually live once they exist.
The practical order for a box you have not touched yet: scan first at a resolution good enough to read later, following our guide on storing old photographs for how to handle the prints while you work, then write the real caption on the digital file. Reserve pencil notes on the print itself for photographs you are not scanning any time soon, so at least a name survives if the scanning gets delayed. Check the pixel dimensions with the photo scan pixels tool before you decide a setting is good enough to caption from later.
When the back is already a problem
Some photographs arrive already labelled badly: ballpoint pressed hard, a sticker residue left by an old album mount, or a stain from tape that has since been removed. Do not try to clean or lift old writing on the back. It is history now, even the wrong pen was, and scraping at it risks the print far more than the mark itself ever did. If the back also shows staining that has begun to show through to the front, our guide on stains on old photographs covers what can and cannot be recovered.
What to do this weekend
- Buy one 2B pencil and keep it with your photographs specifically, so the right tool is always the closest one when you sit down with a box.
- Stop using pen on anything you have not already labelled. Existing ballpoint notes are not worth redoing, but there is no reason to add more.
- For a collection you are actively scanning, caption the file, not the print. It is the version that will actually get read in twenty years.
A photograph without a name is not lost, but it is waiting for someone to guess. A pencil line in the right place, or a caption in the right file, is the cheapest insurance a family archive ever gets.
Common questions
- What is the safest pen for writing on the back of a photograph?
- A soft graphite pencil, roughly a 2B, is the only thing conservators consistently recommend. It does not bleed, it does not react with the paper over time, and if you write in the wrong place it lifts off cleanly with an eraser. Nothing else on this list meets all three of those.
- Why is ballpoint pen bad for the back of a photograph?
- Ballpoint ink can bleed through thin resin coated paper over years, and the pressure of writing embosses a ridge into the front of the print that shows as a faint line under the image, especially once the print is scanned and enlarged. Both faults only become visible long after the writing was done, which is why the advice persists even though a single note rarely looks like a problem at the time.
- Where on the back of a photograph should I write?
- Along one edge, never in the centre, and with the lightest pressure that is still legible. Corners are handled the most and wear fastest, so keep writing at least a centimetre in from any edge. Rest the print on a hard flat surface while you write, never on your palm or a stack of other photographs, or the pressure from your pencil will emboss whatever is underneath.
- Is it better to label the photograph or the digital file?
- For a collection you are actively scanning, the file is the safer and more useful place to put a caption. A filename or a metadata field never bleeds, never embosses and can hold far more than a name and a year. Keep light pencil notes on prints you have not scanned yet, and once a photograph is digitised, do the real captioning on the file and leave the print alone from then on.