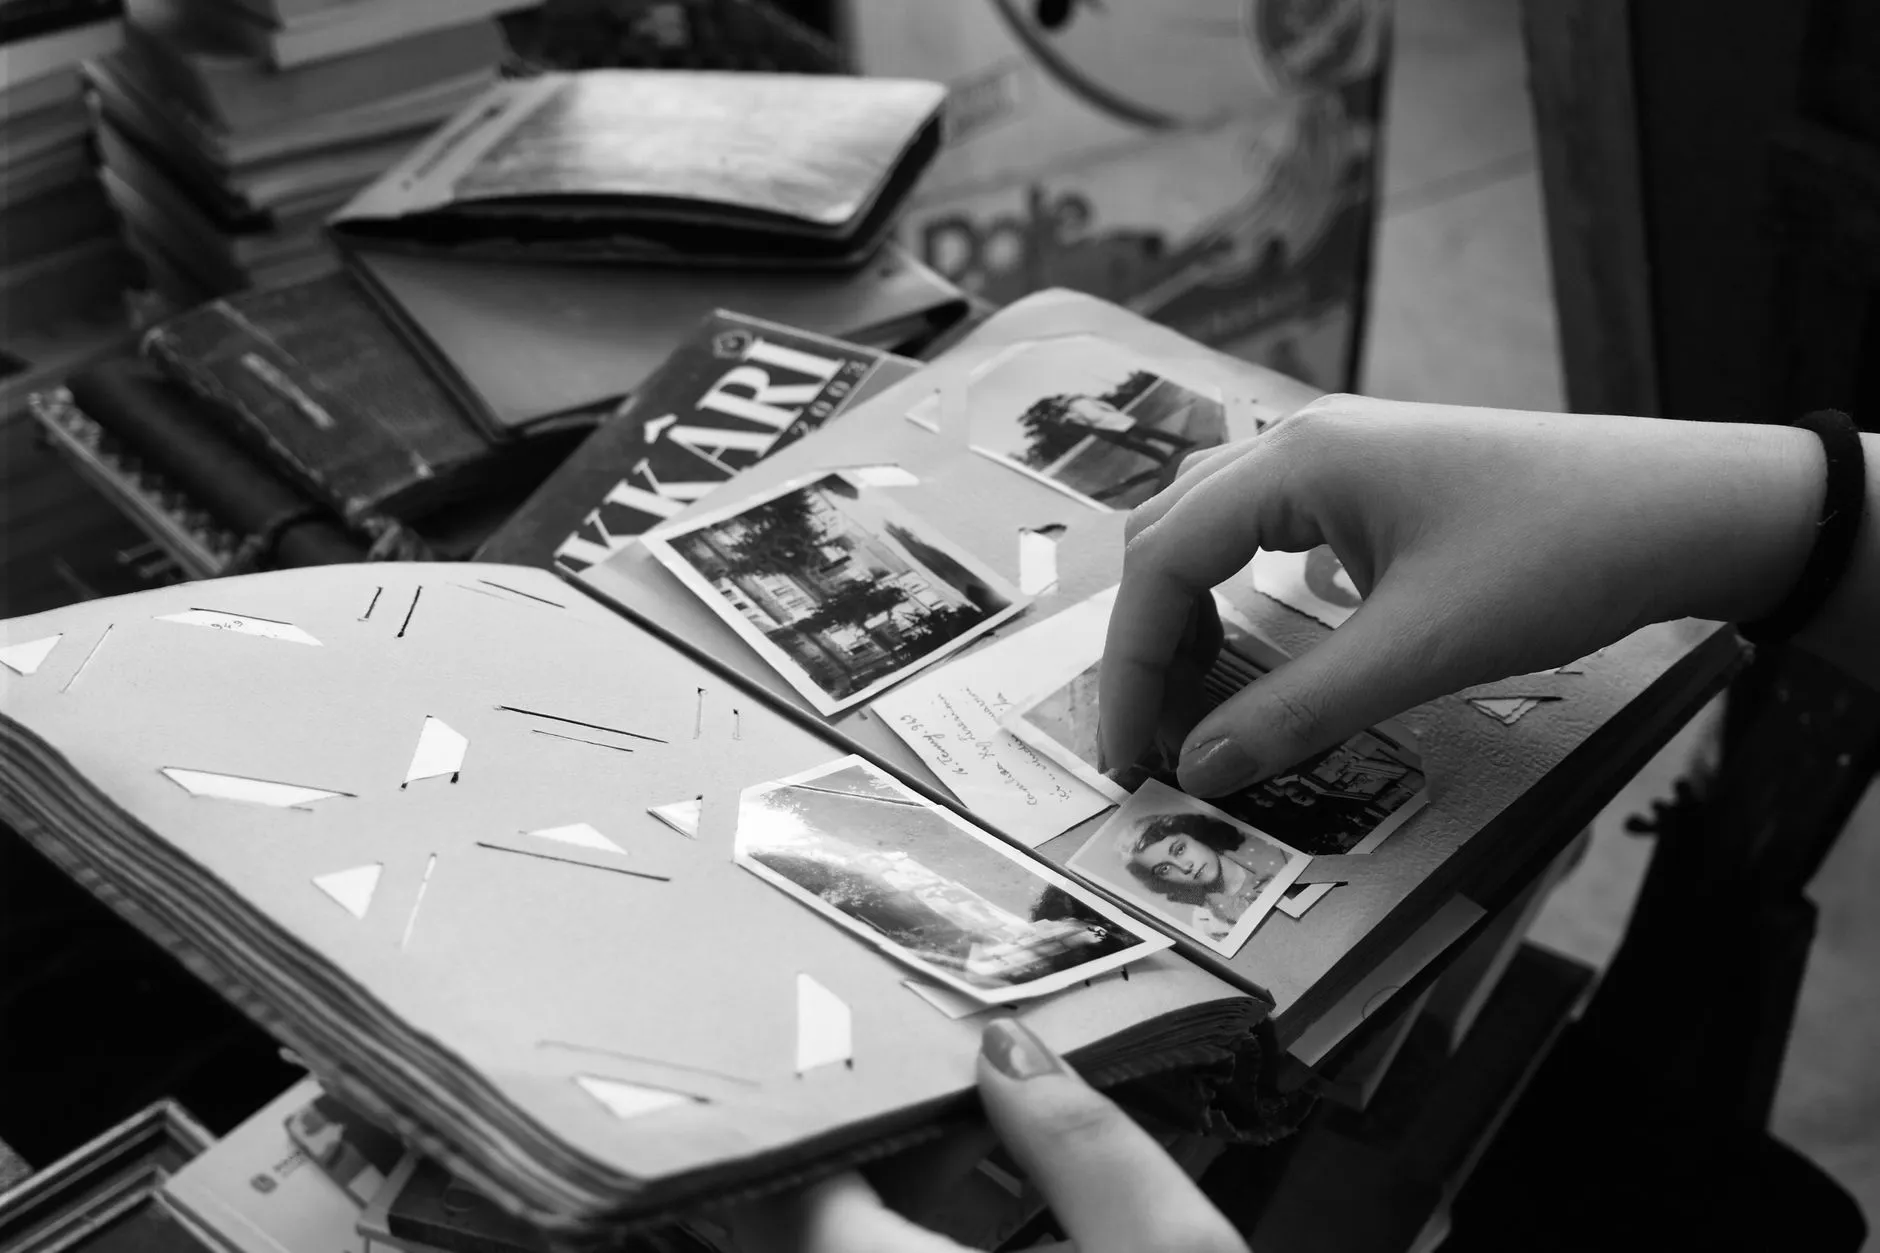
Scan or Photograph? Deciding Which Is Right for the Print in Front of You
A flatbed is not always the right tool. Here is the decision tree for choosing between a scanner and a camera, print by print, and how to get a camera capture that holds up.
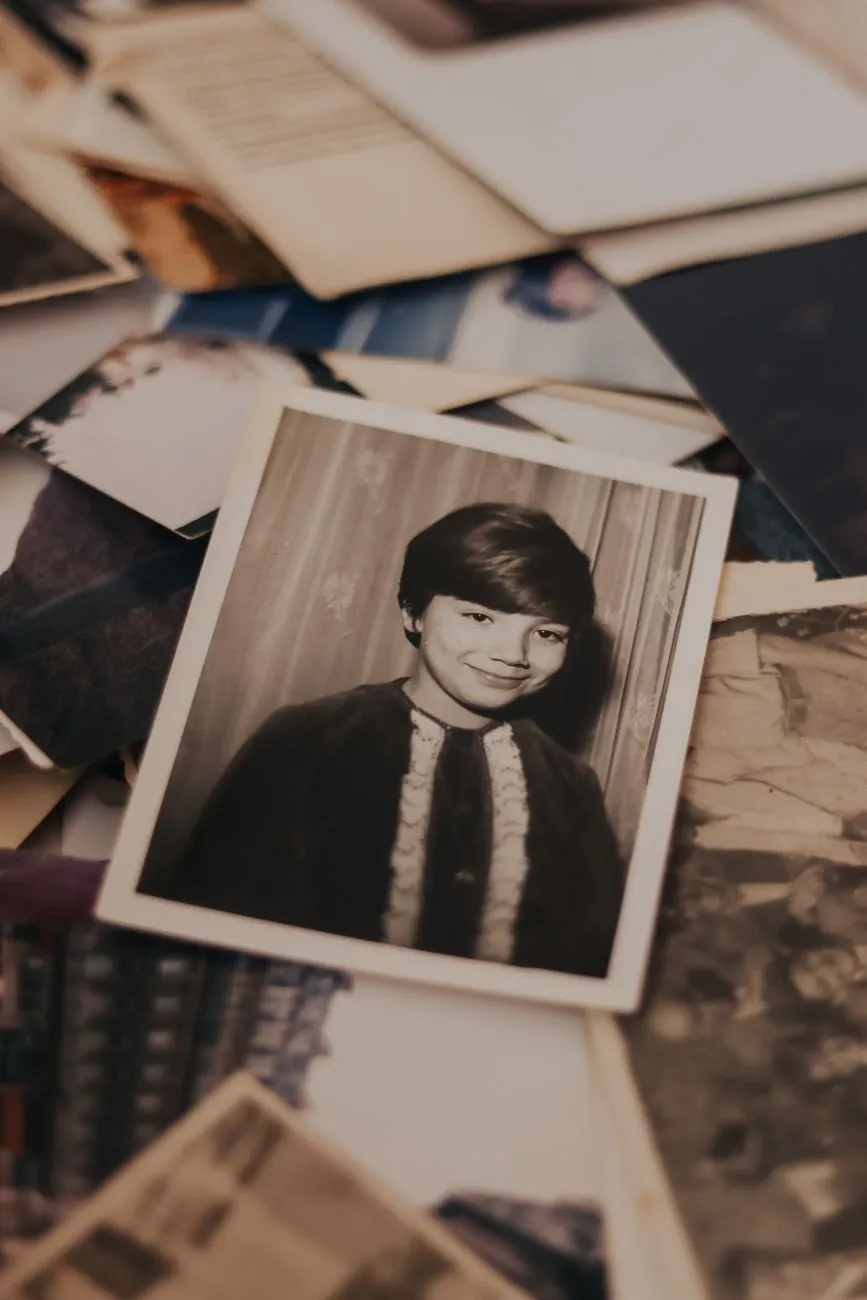
Most advice on digitising old photographs assumes a flatbed scanner and stops there. For a stack of ordinary flat snapshots that is the right call and there is no reason to overthink it. But a fair number of prints in any real family collection are not ordinary and flat, and pushing those onto glass anyway is how you end up with a distorted scan, a fresh crease, or a print you cannot get to lie down at all. The decision is print by print, not collection by collection.
The decision tree
Work through these in order for each print. The first one that applies decides the method.
Is it fragile, cracked, or actively flaking? Photograph it. Any pressure from a scanner lid, or even the print’s own weight settling onto glass, can lift emulsion that is already failing. A camera never touches the surface. If the damage looks advanced, our guide to deteriorated and mottled photographs covers what digital repair can and cannot do once you have a safe capture to work from.
Is it bigger than your scanner bed? Photograph it, or plan to stitch multiple scanner passes together, which is more work than it sounds for a print that will not sit still between passes. A camera captures the whole thing in one exposure.
Is it mounted on board, framed, or behind glass already? Photograph it. Cabinet cards, mounted studio portraits and anything framed either will not fit a scanner lid closed, or risks damage to a mount that is often more fragile than the photograph sitting on it.
Does it have heavy curl or a rolled edge? Photograph it if the curl will not relax with gentle, brief pressure. Forcing a curled print flat under a scanner lid is how creases happen, and a crease is permanent in a way that a curl in the scan is not.
Is the surface glossy or heavily textured? This is the least obvious case and the one worth reading carefully, because it is not really about fragility at all.
If none of these apply, the print is flat, ordinary sized, and in reasonable condition. Scan it. A flatbed is faster, needs no lighting setup, and produces a more consistent result across a whole box of similar prints than a camera will, frame after frame.
Why glossy and textured prints fight a flatbed
A flatbed scanner lights the print from directly above and reads what bounces straight back. Glossy paper and any raised texture, the linen and pebble finishes common on 1960s and 70s prints, reflect that direct light unevenly. The result is a scan with a bright blown-out patch where the light caught the surface at the wrong angle, or a faint moire pattern across a textured area that was never actually in the photograph.
A camera avoids this because you control the angle of the light relative to the print, rather than being stuck with light coming straight down. Two lamps at roughly forty five degrees to the surface, one from each side, illuminate the print evenly without either one catching a direct reflection back into the lens. This is the same reason museums photograph glossy artwork rather than scanning it: the geometry of raking light off to the side is something a flatbed’s built-in lamp cannot do.
What a camera capture costs you, and how to get most of it back
Photographing a print instead of scanning it is a real trade, not a free upgrade, and it is worth being honest about what you give up.
Flatness. A scanner presses the print against glass, guaranteeing a perfectly flat, undistorted capture. A camera photographs whatever the print is actually doing, which for a print with any residual curl means a very slight softness at the edges compared to the centre. For most family photographs this is invisible at normal viewing size. For a print you intend to enlarge significantly, it is worth knowing about.
Geometric accuracy. A camera not held dead level over the print records a rectangle as a trapezoid, subtly wider at one edge than the other. This is fixable afterwards with a perspective correction, but it is much easier to get right at capture time than to fix convincingly later.
Resolution certainty. A flatbed scanner reports its DPI directly, so you always know exactly how much detail you captured. A camera’s effective resolution depends on the lens, the distance, and how much of the frame the print actually fills, which takes a moment of arithmetic rather than reading a settings dialog. Our photo scan pixel calculator works this out either way, so you can check a camera capture against the same targets used for scanning and know whether you actually matched a flatbed’s resolution or only felt like you did.
Here is how to close most of that gap:
- Mount the camera on a tripod or copy stand, dead level over the print, not handheld. Handheld introduces both blur and the trapezoid problem at once.
- Light from both sides at roughly forty five degrees, using two matched lamps if you can. A single light source, including a window, throws an uneven shadow across any texture or curl the print has.
- Fill the frame with the print and a small margin, rather than photographing it small in the middle of a large scene. More of the sensor dedicated to the print means more resolved detail.
- Use the camera’s timer or a remote shutter, not a manual press, to avoid the small shake that a manual shutter press introduces even on a tripod.
- Shoot in RAW if your camera supports it, for the same reason you would keep an archival TIFF from a scan: more information to correct exposure and colour with later, without compounding loss.
Done this way, a camera capture of a print that genuinely needed one holds up comparably to a scan for the prints a scanner could have handled anyway.
A quick way to decide without overthinking it
For a whole box, sort into two piles as you go rather than deciding print by print from scratch each time. One pile for anything glossy, textured, mounted, framed, curled, or oversized. Everything else goes straight to the scanner. Batch the photography pile together at the end, since the lighting setup is the slow part and it is wasted effort to rebuild it for one print at a time.
If a print genuinely could go either way, default to the scanner. It is faster, it requires no lighting judgement calls, and for a borderline case the difference in result is usually smaller than the difference in effort. Save the camera for the prints that actually need it.
What neither method fixes
Choosing the right capture method gets you an honest digital copy of the print as it is now. It does not repair fading, tears, or the surface deterioration that comes with age, and it should not try to. Our guide to what DPI to scan old photos at covers the resolution side of this same decision in more detail, and applies equally whether you end up scanning or photographing. Restoration is a separate step that comes after the capture, working from whichever method got you the cleanest, flattest, most honest record of the print you actually have.
Common questions
- Is a camera ever actually better than a scanner for old photos?
- For a specific set of prints, yes: anything glossy, heavily textured, curled, mounted, framed, or larger than your scanner bed. A camera captures these without pressing them flat under glass, which a flatbed cannot avoid doing. For a normal, flat matte print, a flatbed still wins on convenience and consistency.
- Can I match a scanner's resolution with a camera?
- Often, yes, if you have a reasonable camera, good even lighting and a tripod. A 24 megapixel camera filling the frame with an 8x10 print resolves detail comparable to a mid range flatbed scan. Our photo scan pixel calculator works out the numbers either way, so you can compare methods honestly instead of guessing.
- Do I need a copy stand, or will a tripod do?
- A tripod with a horizontal arm, or even a phone clamp on an ordinary tripod, does the job. What actually matters is getting the camera dead level over the print and the light even from both sides. A dedicated copy stand is a convenience for volume, not a requirement for quality.
- What is the biggest mistake people make photographing old photos?
- Using the room's overhead light or a window instead of two even sources at an angle. Single-direction light throws a shadow across any curl or texture in the print and often adds a faint reflection you will not notice until the file is open on a large screen.