How to scan old photographs with a phone, properly
A phone camera can produce a genuinely good digitisation of a print, but only if you get the light right. Here is the technique, the glare fix, and an honest look at how many pixels you actually end up with.
A flatbed scanner is still the better tool for most prints, and we will not pretend otherwise. But a huge number of people digitising a family archive do not own one, do not want to buy one for a single afternoon’s project, or are holding a print too large, too curled or too fragile to press under a scanner lid. For all of those cases, a phone camera does the job, provided you treat it as a small photography setup rather than a point-and-shoot moment.
Light is the whole game
Almost every bad phone capture of an old photograph traces back to one thing: the light. Get this right and the rest of the process is easy.
Use two light sources at roughly forty five degrees. Position the print flat on a table, then light it from both the left and the right, each lamp angled in at about forty five degrees to the surface. Two matched lamps, even inexpensive desk lamps with daylight bulbs, even out shadows and give the whole print consistent brightness edge to edge. A single light source, however bright, leaves one side dimmer than the other.
Never use the flash. A phone’s flash sits a few millimetres from the lens, so on a glossy or semi-gloss print it bounces almost straight back into the camera as a hard white hotspot, usually right over the part of the image you care about most. Turn it off entirely and rely on your two lamps.
Avoid a single overhead downlight. Ceiling lights create a small, harsh reflection directly under the fixture and leave the edges of the print comparatively dark. It is the domestic equivalent of the on-camera flash problem, just softer.
Do not stand with a window behind you. Backlighting throws your own shadow across the print and lets the phone’s camera meter for the bright window instead of the print, which crushes the photograph itself into shadow. A window off to one side, doing the job of one of your two lamps, works well. A window directly behind the print works too, as long as the print itself is not lit unevenly against it.
Turn off the room’s ceiling light while your two lamps do the work, and if the two lamps are not the same colour temperature, the print will show a colour shift from one side to the other. Matched daylight bulbs, roughly 5000 to 5500K, keep the result neutral.
Killing glare on a glossy print
Glossy and semi-gloss prints are the real test of this whole setup, because their surface reflects light directly rather than scattering it, and a reflection anywhere in frame reads as a bright patch or streak over the image.
Angle the lights, not the phone. Keeping both lamps at that same forty five degree angle means the reflection off the print’s surface bounces away from the lens rather than into it. Move a lamp closer to directly overhead and you reintroduce the exact glare you are trying to avoid.
A polarising filter is the cheapest genuine upgrade available. A clip-on polariser over your phone’s lens, paired with a polarising gel or filter over each lamp, removes surface glare almost completely by blocking the specific light waves a glossy surface reflects straight back. It sounds like specialist kit, but a basic clip-on lens polariser costs very little and a sheet of polarising gel can be cut to cover a desk lamp. For a one-off project of a dozen photographs, this is optional. For a whole album of glossy 1980s prints, it earns its cost back on the first ten frames.
Shoot slightly off-axis if you have no polariser and one stubborn print. A few degrees of angle between the lens and the print surface can move a reflection just outside the frame, though this introduces the keystone distortion (a slightly trapezoidal image) that you will need to correct afterwards. It is a workaround, not a fix, and it is worth using only when a polariser is not available.
Matte and fibre-based prints rarely need any of this. If your collection is mostly older matte prints, a simple two-lamp setup without a polariser will usually get you a clean capture. Save the extra effort for the glossy ones.
Setting up the shot itself
Place the print on a flat, non-reflective surface. A dark, matte table works better than a light or glossy one, because a bright surface around the print’s edges can fool the camera’s exposure into underexposing the photograph itself.
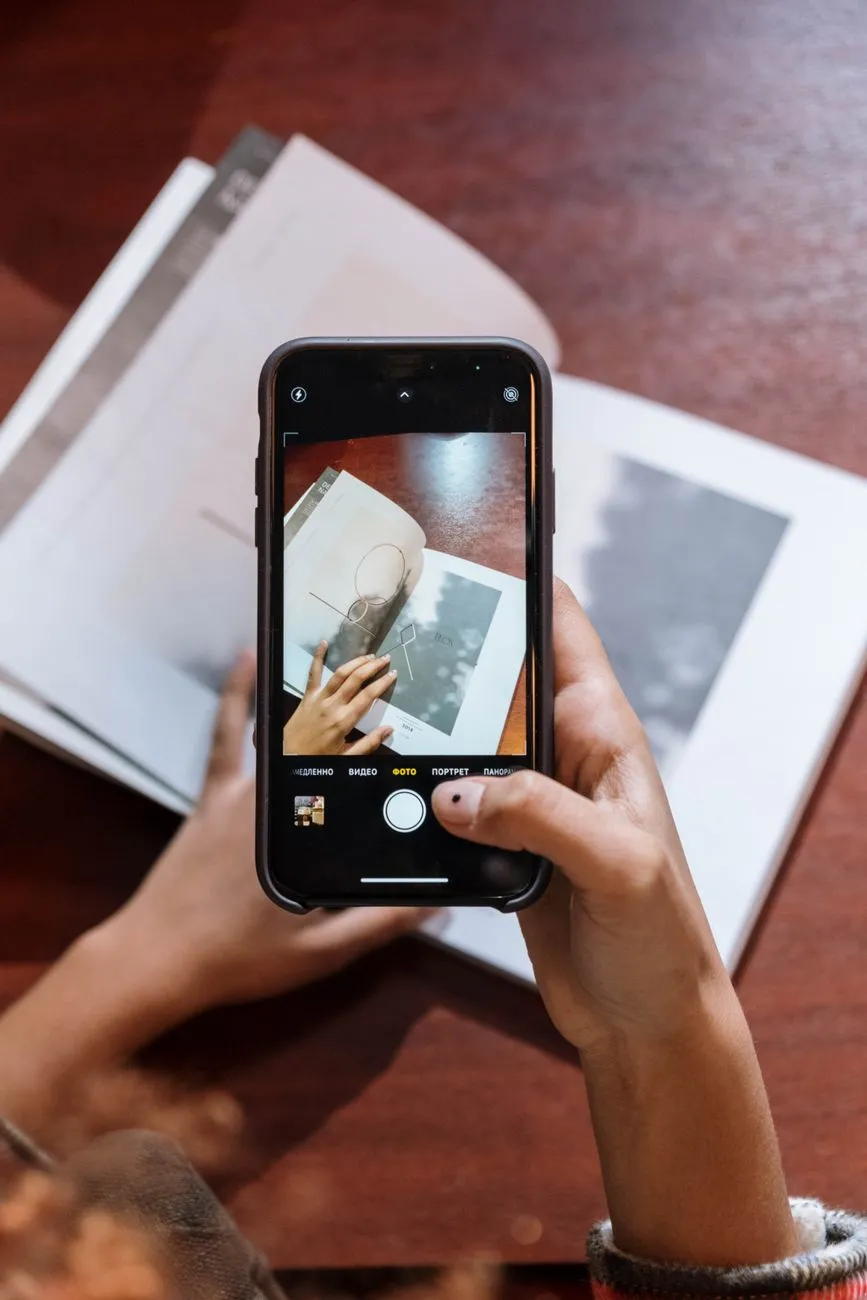
Mount the phone directly overhead, parallel to the print, rather than holding it freehand at an angle. A small tripod with an overhead arm, or even propping the phone on a stack of books with the print centred beneath it, removes the tilt and keystone distortion that comes from shooting at even a slight angle. If your photographs have any curl or damage, our guide on surface dirt and grime covers cleaning a print gently before it goes in front of the camera, since dust and fingerprints photograph just as permanently as they scan.
Tap to focus directly on the print, not the surrounding table, and lock exposure if your camera app allows it, so the phone does not re-meter and shift brightness between frames if you are working through a stack.
Fill the frame with the print but leave a small margin outside its edges. Cropping tight in-camera makes it harder to straighten later, and a little breathing room costs nothing.
How many pixels you actually end up with
This is where phone scanning earns a fairer hearing than it usually gets. People assume a phone camera falls badly short of a flatbed, and for a standard family snapshot it mostly does not.
A typical 4x6 inch print scanned at 600 DPI, the setting our guide to scan resolution recommends as the sensible floor for anything worth keeping, produces a file around 2400 by 3600 pixels, roughly 8.6 megapixels. You can see the exact numbers for that specific size and setting on our 4x6 photo at 600 DPI reference page. Most phones sold in the last several years capture considerably more than that in a single frame, so resolution is rarely the actual limit. Our photo scan pixel calculator lets you check the equivalent DPI your phone capture works out to once you know the print size and the pixel dimensions your camera saved, which is a more honest comparison than any manufacturer’s megapixel figure.
What a phone genuinely loses against a flatbed is not resolution. It is flatness, consistency across a whole stack, and the risk of very slight softness at the edges of the frame from lens distortion, which a scanner’s even glass plate does not introduce. For an occasional print or an oversized one, none of that matters much. For four hundred prints in an afternoon, a flatbed’s consistency starts to win on time alone, even before quality enters the conversation.
When to reach for a phone instead of a scanner
Use a phone when the print is larger than your scanner bed, when it is curled, warped or mounted in a way that will not sit flat under a lid, or when you simply do not have a scanner and want a genuinely usable result today. Use a flatbed when you have the option and are working through a large, uniform stack of standard-sized prints, because consistency there outweighs the small quality edge a careful phone setup can achieve on any single frame.
Whichever method you use, the file you end up with is the archive now. Light it properly, capture it once, and you will not need to do this again.
Common questions
- Is photographing a photo with a phone as good as scanning it?
- Not quite, but it gets closer than most people expect once the lighting is right. A flatbed still wins on flatness and consistency, but a well-lit phone capture of a standard print can hold up fine for family archive purposes. Where a phone genuinely wins is prints too large, curved or fragile to press under a scanner lid.
- Why does my phone photo of a photo look worse than the original?
- Almost always light, not the camera. A single overhead bulb, a flash, or a window behind you all create glare, uneven brightness or a colour cast. Fix the lighting setup before blaming the phone. Modern phone cameras are more than capable of the resolution this job needs.
- Do I need a polariser to photograph old photos?
- Not for every print, but it is the cheapest fix for the ones that fight you. Any print with a glossy or semi-gloss finish reflects light directly back at the lens, and a polarising filter over the lens, combined with one over each light source, removes almost all of it. For matte prints you can usually skip it.
- How many megapixels do I need to photograph an old photo well?
- Fewer than you think. A standard 4x6 print scanned at 600 DPI works out to about 8 megapixels, well within what any phone from the last several years captures. The limit is rarely the sensor. It is getting the whole print sharp, flat and evenly lit in one frame.