How to scan a photograph bigger than your scanner bed
A flatbed only covers so much glass. Here is how to scan an oversized print in overlapping passes and stitch it cleanly, and when photographing it in one pass is honestly the better choice.
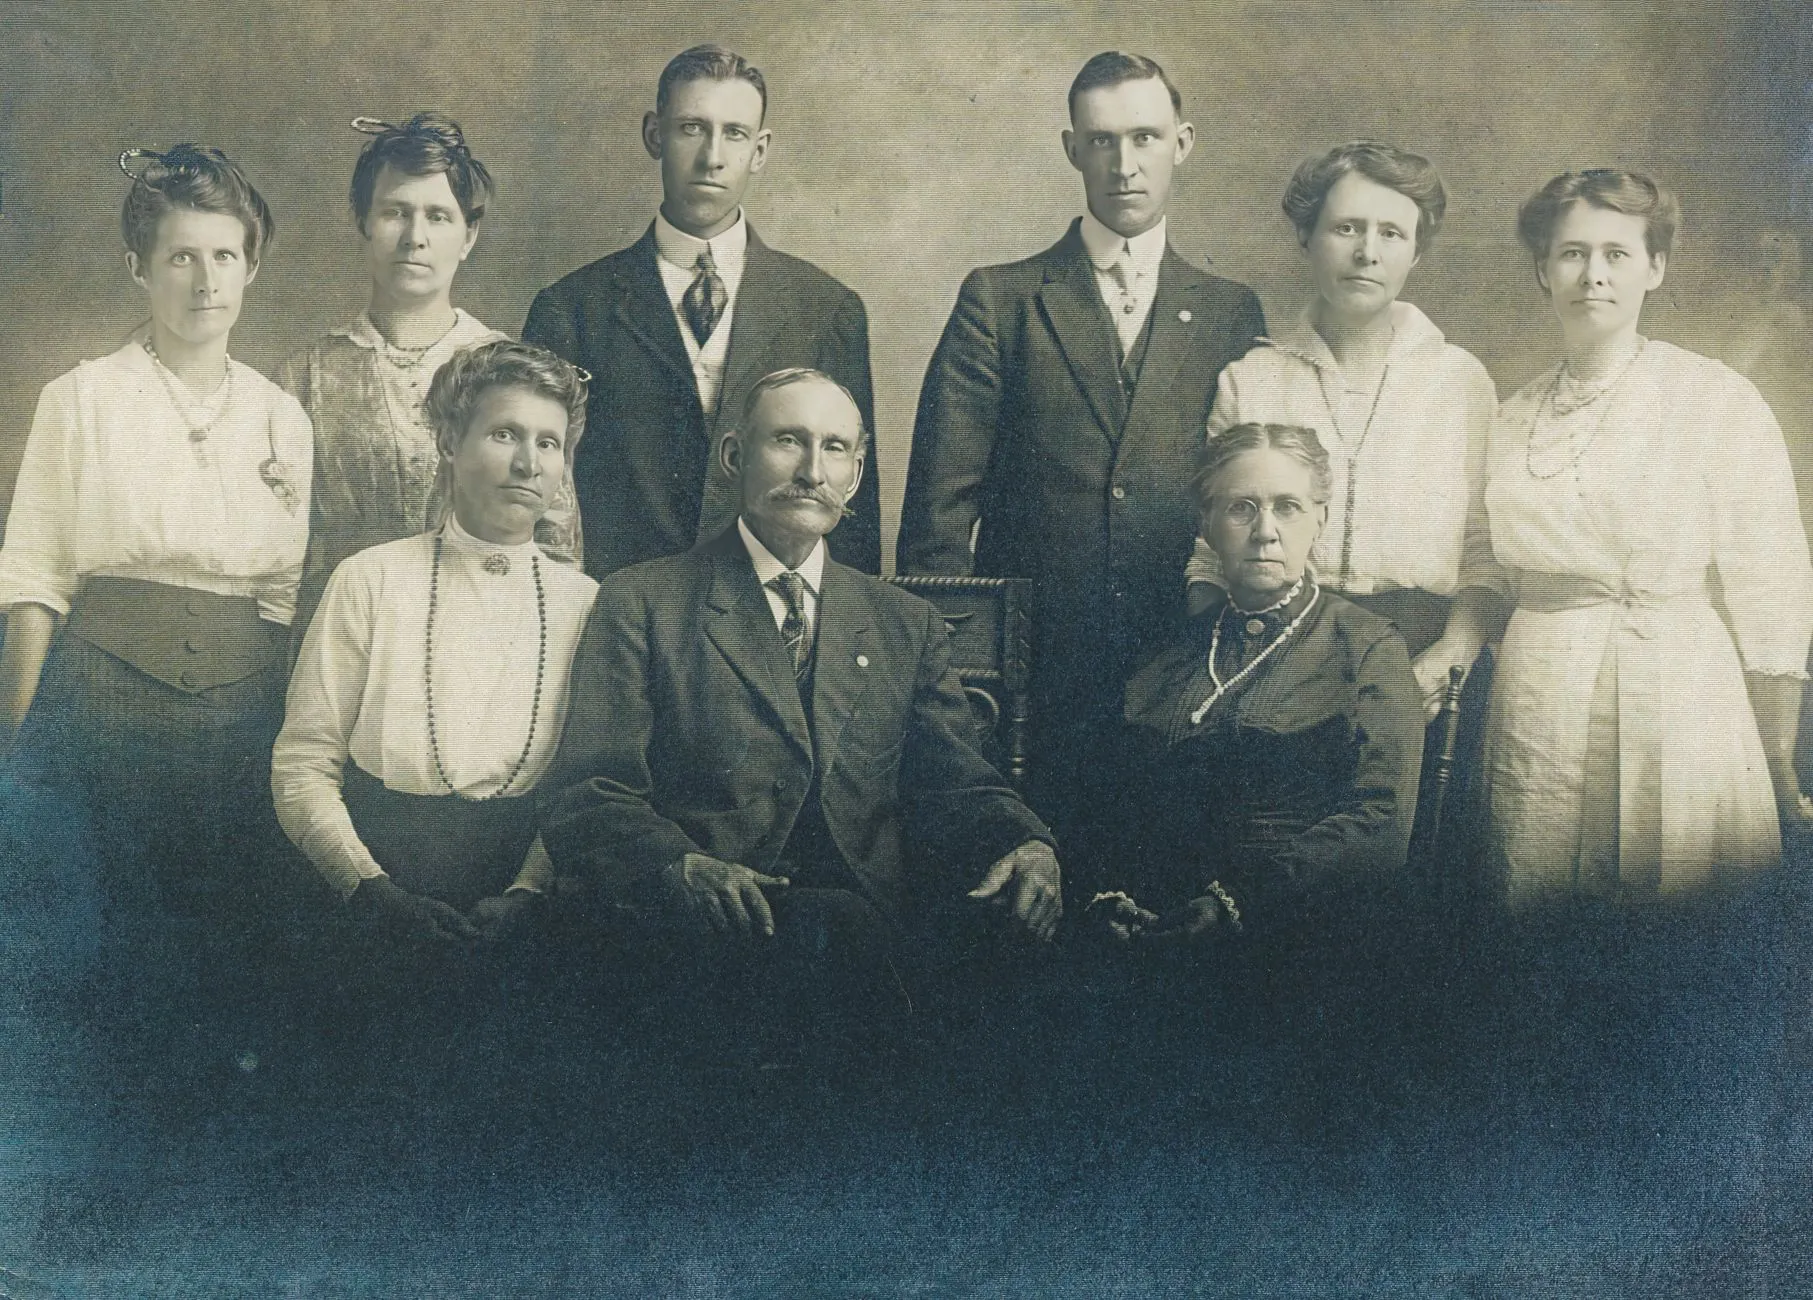
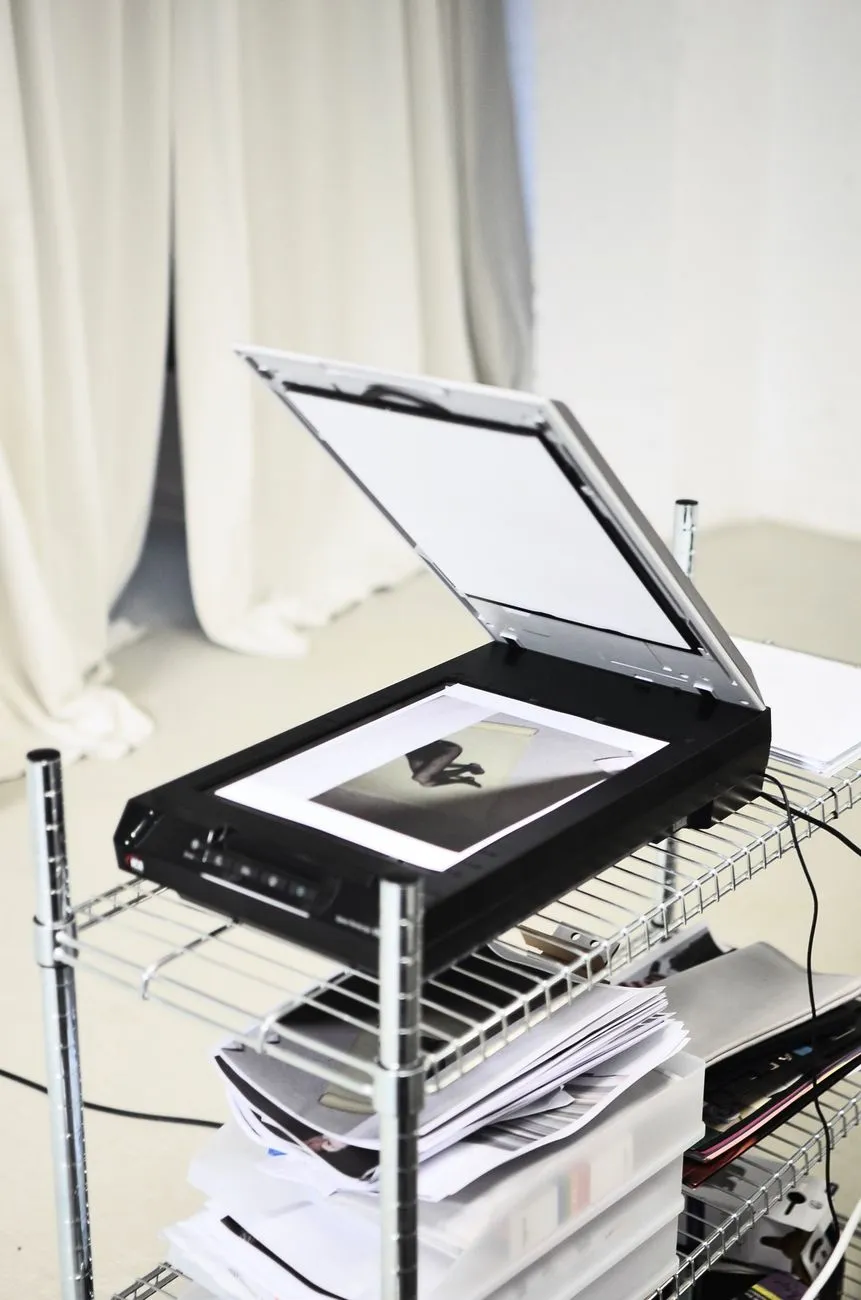
Most advice about scanning old photographs quietly assumes the print fits on the glass. A good number of prints in a real family collection do not. Large studio group portraits, school composite photographs, enlargements made for a wedding or an anniversary, and prints mounted on oversized board all turn up eventually, and a standard flatbed bed, usually 8.5 by 11.7 inches, simply stops short of them.
There are two honest ways to deal with this: scan the print in overlapping sections and stitch them together afterward, or photograph the whole thing in one pass and accept a small loss of evenness. Neither is wrong. Which one is right depends on the print in front of you, not on a rule that applies to every oversized photograph equally.
Decide whether stitching is worth it before you start
Stitching rewards a print that is flat, rigid, and in reasonable condition. A stiff mounted portrait or a flat enlargement on photographic paper stitches cleanly because nothing moves or distorts between passes. A curled, creased, or fragile print is a worse candidate, because getting it to lie flat against glass twice doubles the handling risk for no real gain in quality.
If the print is delicate enough that pressing it under a scanner lid even once concerns you, skip straight to photographing it. Our guide on deciding whether to scan or photograph covers that call in more detail, including the lighting setup a one-pass camera capture needs to hold up against a scan.
If the print is sturdy, stitching usually wins. A scanner captures even, consistent light and colour across the whole surface, something a camera has to work much harder to match, and the resolution per pass is genuinely higher than most home camera setups produce.
Keep the print still and move the reference, not the other way around
The single biggest cause of a bad stitch is the print shifting slightly between passes. Every time the print moves relative to the scanner glass, the two halves pick up a different angle or a different scale, and no amount of software alignment fixes that cleanly afterward.
The fix is to treat the print as fixed and the scanner as the thing that moves across it, even though a flatbed scanner obviously cannot slide. In practice this means:
- Tape the print lightly to a rigid backing board first, using removable tape on the back edges only, never on the image side. This stops it sliding at all once positioned.
- Mark a straight reference line across the back of the backing board, or lay a ruler along one edge of the print each time, so you can reposition the scanner lid against the same line for every pass.
- Lift the whole scanner and move it along the print between passes if the print and board are too large to move safely, rather than sliding the print under a scanner that stays put. A scanner is far less likely to be damaged by this than an old photograph is.
- Close the lid the same way every time. A lid that presses down at a slightly different angle changes focus and evenness of light at the edges, which shows up as a soft or darker band right where two passes meet.
Overlap by a third, every pass
Scan each section with roughly a third of its width or height shared with the next pass. That overlap is what stitching software, or you, working manually, uses to line the two images up by matching real detail rather than guessing at a straight cut.
Widen the overlap over plain backgrounds, a blank studio backdrop or an unmarked sky, since there is almost nothing there for software to match against. Detail-heavy areas, a patterned dress, a row of faces or ornate furniture, need less overlap because they give the stitch something distinctive to lock onto. When in doubt, scan a bit more overlap than you think you need. Trimming an oversized overlap afterward costs nothing. A gap between two passes is much harder to fix.
Settings that make stitching easier, not harder
Scan at a higher resolution than you would for a print that fits in one pass. More detail per section gives the stitch more texture to match precisely, and it is the one part of this process that genuinely gets easier at a higher DPI rather than harder. Our scan DPI calculator works out a sensible setting for the print size you are actually holding, and the fuller explanation in what DPI to scan old photos at covers the colour mode, bit depth, and automatic filters worth checking before your first pass, since they matter just as much here as they do for an ordinary scan.
Lock every setting before the first pass and leave it alone for every pass after that. Automatic exposure, automatic colour correction, and auto-cropping are the specific features to turn off, because any one of them adjusting itself differently between passes is what produces a visible seam later, regardless of how well the passes are aligned.
Stitching the passes together
Once you have two or more overlapping scans captured under identical settings, the alignment itself is usually straightforward. Photo editing software with a panorama or photo merge feature does this automatically in most cases: it finds the overlapping detail, aligns the passes, and blends the seam. Dedicated panorama stitching tools built for camera images work just as well on scanner passes, since the underlying problem, matching overlapping detail across two frames, is identical.
If you would rather do it by hand, or the automatic result has a visible seam, open both scans as separate layers in an image editor, nudge the top layer until the overlapping detail lines up exactly, and erase the overlap on one layer so only one copy of the shared area remains. It takes longer than letting software do it, but it gives you full control over exactly where the seam falls, which is useful if the automatic blend has chosen a spot that cuts across a face.
Whichever method you use, check the result at full size before deciding you are done. A seam that looks invisible on screen at a glance can still be visible once the file is printed large or examined closely, and that is worth knowing before you put the original away.
When to stop and photograph it instead
Sometimes the honest answer is that stitching is not worth the handling. A print that is curled, mounted on failing board, loose in a damaged frame, or torn near an edge you would need to flatten against glass is a print where a second and third handling session adds real risk for a result that may not even stitch cleanly.
In that case, photograph the whole print in one pass instead. You lose some of the evenness a scanner gives you for free and you will likely end up with a slightly lower effective resolution, but you only handle the print once. For a print already showing scratches or surface damage from decades of storage, our guide on scratches on old photos is worth reading before you decide how much more handling that particular print can take.
There is no prize for insisting on a scanner when the print itself is telling you to put it down. The goal of any of this is one good capture of the photograph as it exists right now, not a technically superior file you had to risk the original to get.
Common questions
- How much should I overlap each scan pass?
- About a third of the print's width or height, more if the print has little visible detail in that area to line up against. A plain sky or a blank wall gives stitching software almost nothing to match, so widen the overlap there and narrow it where there is texture, pattern or a clear edge to anchor on.
- Can I just use a photocopier or a wide format scanner instead?
- If you have access to one, yes, a single pass beats stitching every time and removes the alignment problem entirely. Most people do not own one, which is why this is worth doing properly at home. A library, copy shop or print studio may have a larger flatbed worth asking about before committing to multiple passes.
- My stitched scan has a visible seam. What went wrong?
- Almost always an exposure or colour change between passes, not a positioning error. If your scanner software adjusted brightness or colour automatically between scans, the two halves will never match no matter how precisely you align them. Lock exposure manually and keep every setting identical across all the passes of one print.
- Is it worth scanning a large print at all, or should I just photograph it?
- If the print is flat, rigid and in good condition, scanning in passes gives you more consistent resolution and colour than a camera capture usually will. If it is curled, mounted on board, framed, or fragile enough that handling it twice worries you, photograph it once instead and accept the small trade-off in evenness.