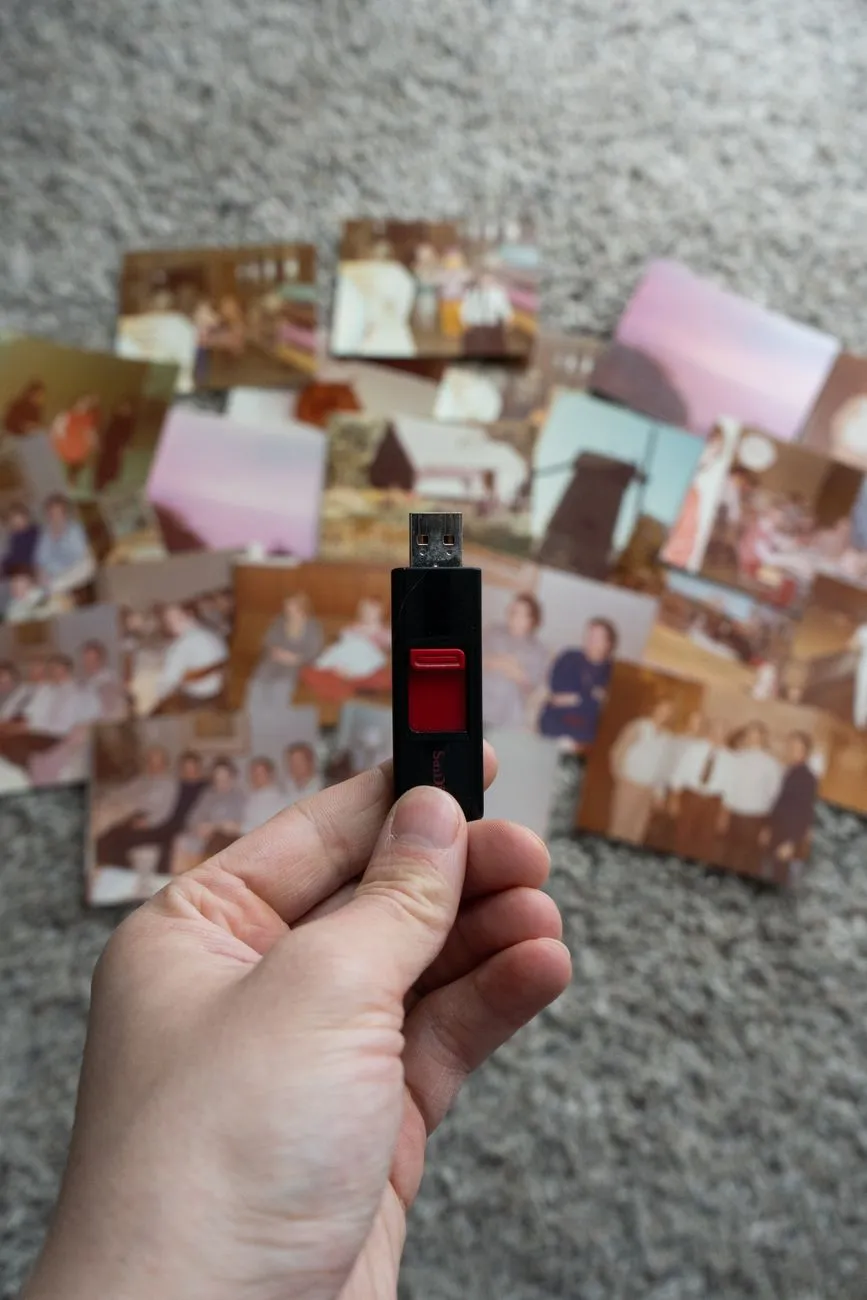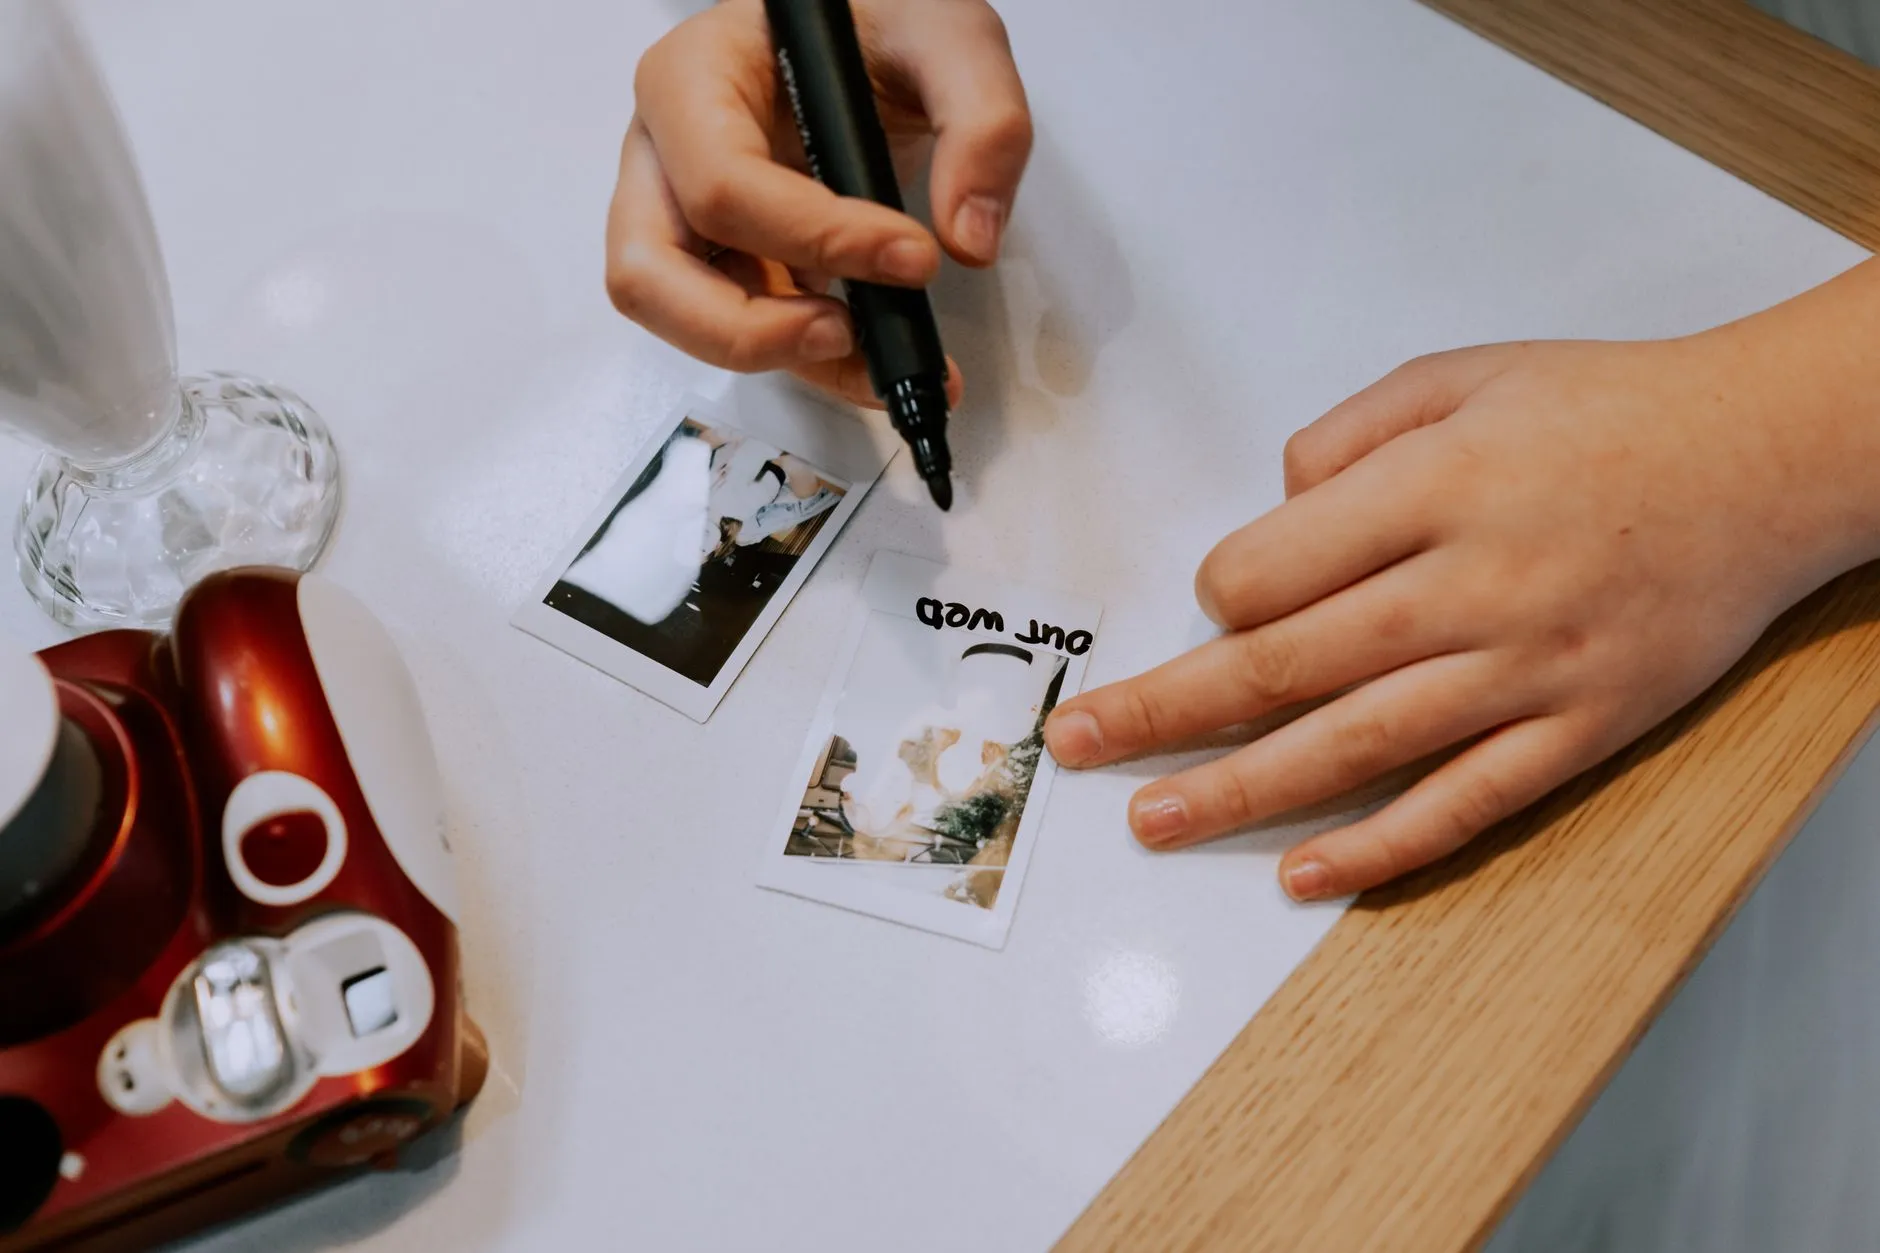
How to organise four hundred scanned family photographs
A shoebox of loose prints becomes four hundred files named IMG_0001 through IMG_0400, and nobody can find anything. Here is how to sort the box in one pass, then build a folder and filename system that still makes sense in twenty years.
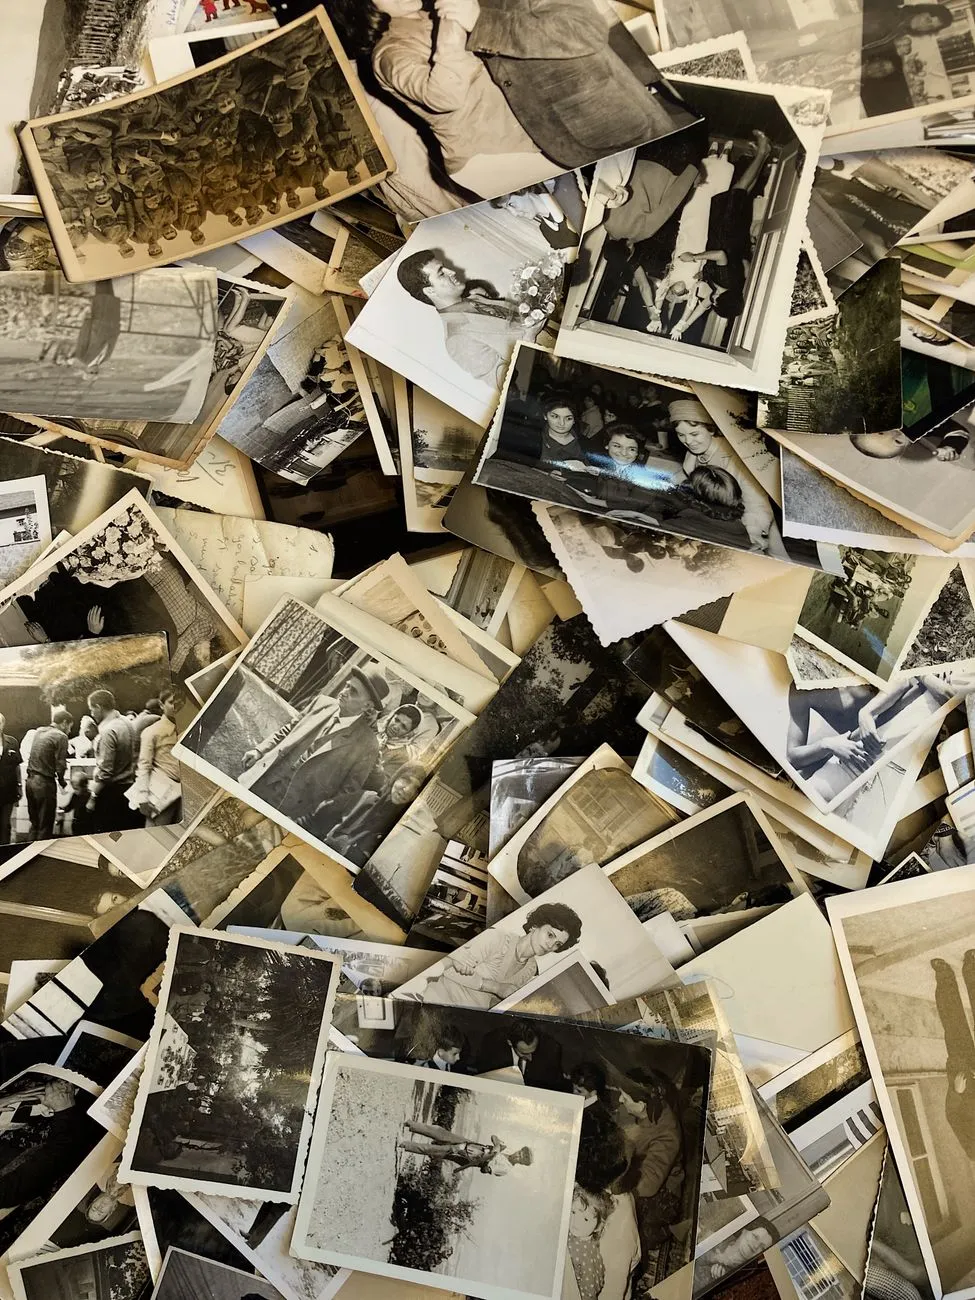
Four hundred photographs came out of the box and off the scanner as four hundred files
named IMG_0001.jpg through IMG_0400.jpg. Technically, the hard part is done. In practice,
nobody, including you in eighteen months, can find the photograph of a specific wedding, a
specific house, or a specific dog without opening every file one at a time.
This is the part of the project that gets skipped, because scanning feels like the job and naming feels like admin. It is the opposite. A folder of unsorted files is barely better than the box it came out of. Organising it properly, once, is what turns a pile of scans into an archive someone can actually use.
If the box is still a box and nothing has reached the scanner yet, start one step earlier, with the pass described next. The physical sort and the digital structure are the same project, and doing the first one badly makes the second one twice as long.
The four-pile pass, before anything reaches the scanner
Everyone who inherits a shoebox of family photographs starts the same way. You tip it out onto the kitchen table, pick up the first photograph, and stop, because you have just tried to solve four problems at once: who is this, when was it taken, is it damaged, and where does it go. Multiply that by four hundred prints and the box wins. It goes back in the cupboard for another decade.
The box is not actually hard. It only feels that way because most people sort it twice at the same time, once emotionally and once practically, for every single print. Separate those two jobs and an afternoon is genuinely enough.
The fix is to stop asking who and when on the first pass, and ask a much smaller question instead: what happens to this photograph next. Every print needs exactly one of four things, and you can usually tell which within two seconds of looking at it.
Scan now. The photograph is in good condition and it matters. This is most of a typical box. It goes straight into a pile for the scanner, no further thought required today.
Scan later. The photograph is fine but you are genuinely unsure it matters, a scenic shot with nobody in it, a duplicate, a print you do not recognise. It is not worth losing momentum over, so it goes in a second pile you get to once the first is done.
Needs repair first. Torn, stuck to another print, curled tightly, or covered in surface grime that a scan would simply capture and preserve. These need a little handling before they are ready, so pull them out rather than let them slow the main pile down. Our guide on surface dirt and grime covers the safe way to clean a print before it goes anywhere near glass.
Keep, do not scan. Not everything needs digitising. A blank frame, a receipt somebody tucked in the box thirty years ago, a duplicate of a duplicate. These stay together, physically, exactly where they are. Deciding not to scan something is still a decision, and making it now is what stops the box being reopened next year.
Four piles, one pass, two seconds per photograph. That is the whole method.
Handle each photograph once
The single failure mode of every shoebox project is re-sorting. It happens when the first pass tries to do too much: someone starts arranging by decade, realises they do not recognise half the people, gets distracted trying to place a face, and the pile stalls with photograph one hundred and twelve still in their hand.
Decide once and move on. If you genuinely cannot place a photograph after two seconds, that indecision is information too, and it belongs in scan later rather than becoming the reason you stop. You can always look again once it is out of the box and into a folder, where flicking between two prints to compare them takes a second instead of a dig through a pile.
This is also why you should resist sorting by person or by decade on this pass. Both feel more satisfying, and both are the slower job you are trying to avoid doing on cardboard. Do that sorting later, on the scanned files, where a folder structure can be changed in an afternoon and a mistake costs nothing.
Duplicates and the photographs of nothing
Open almost any family shoebox and a third to a half of it is duplicates and photographs of things rather than people: a car, a house, a view out of a hotel window, three near identical shots of the same birthday cake because nobody was sure the flash had fired.
Resist the urge to bin those on sight. A second print is occasionally a cleaner copy of a photograph the good one has creased, and a picture of a house can be the only evidence you will ever have for when a family lived somewhere, which matters enormously when you are trying to date the photographs around it. Put them in their own small pile inside scan later rather than deciding their fate while you are still moving through the box. Decide on duplicates last, once, in a single short sitting where you can compare them properly instead of glancing and guessing.
If a photograph is genuinely meaningless even on a second look, blurred past recognition, a thumb over the lens, an entirely blank frame, it is fine to set it aside to discard. Just do that as its own small final step, not as a constant judgement call slowing down every photograph that comes before it.
Working the piles in order
The box is now four small, manageable jobs instead of one large impossible one.
Start scanning the scan now pile immediately, at a setting that captures what is actually there rather than a guess. Our DPI guide and the scan DPI calculator between them give you the right setting for a print’s size and how much you plan to enlarge it later, so you are not scanning four hundred photographs twice.
Work through needs repair first separately and gently, since those are the prints most likely to be damaged further by rushing. Then come back to scan later once the priority pile is done and you have both momentum and a clearer sense of what the collection contains.
The photographs you decided to keep but not scan go back into a smaller, labelled box, and that box deserves a better home than the one it has held for the last twenty years. Our guide on how to store old photographs covers the handful of things that genuinely matter: cool, dry, dark, stable, and nowhere near an attic or a garage.
Everything that goes to the scanner now becomes a file, which is where the rest of this guide picks up.
Decide the shape before you sort a single file
The temptation is to start sorting immediately and figure out the structure as you go. Resist it. Half an hour deciding the shape first saves redoing four hundred decisions later.
Sort by date first, not by person. It feels natural to make a folder for each grandparent, but most people in a family archive appear across forty or fifty years and several households. A person-first structure forces you to pick one folder for a photograph that genuinely belongs in several, and that choice gets harder the more people are in the frame. A date-first structure has exactly one right answer per photograph: when it was taken, even when that answer is a decade rather than a day.
Use decades as your top-level folders, not years. 1970s, 1980s, 1990s. Most family
photographs do not come with a precise date attached, and forcing a year on a photograph you
are only sixty percent sure about produces confident-looking folders full of guesses. A decade
is usually a guess you can actually stand behind.
Add event or location folders inside each decade only where it earns its keep. A holiday, a wedding, a house you lived in for a decade. Do not create a folder for every possible category in advance. An empty folder structure invented on day one rarely survives contact with four hundred real photographs, most of which are ordinary and do not need a category at all.
A filename convention that sorts itself
Folders get you most of the way. Filenames do the rest, and they matter more than people expect, because a filename travels with the photograph even when it is copied, emailed, or opened outside whatever folder you carefully built it in.
The pattern that works, used by archivists and by anyone who has organised a large photo library and lived to tell about it: date first, then a short description, then a number if there is more than one.
1978-07-holiday-lake-house-01.jpg
1978-07-holiday-lake-house-02.jpg
1983c-family-christmas-lounge-room.jpg
Year and month first means every file sorts correctly by date in any operating system, in any photo application, forever, with no extra software and no metadata that can be lost when you migrate to whatever comes after the tool you are using today. The description is there for a human, and the number keeps a burst of similar shots from colliding.
Mark a guess as a guess, in the filename itself. A lowercase c after an estimated year,
as in 1983c, is a convention conservators use for “circa” and it costs nothing. It lets you
sort by date with the guesses included, while telling anyone who looks that this date is an
estimate rather than a fact written on the back of the print. An honest guess that is visibly a
guess is far more useful to a descendant than a precise-looking date you were never actually
sure of.
Avoid spaces and special characters beyond a hyphen. They cause quiet problems years later, in scripts, in backup software, and in whatever replaces both of those in a decade.
Do it once, at scan time
This is where the four-pile pass pays for itself. The best time to organise a photograph is the moment it comes off the scanner, while the physical print is still in your hand and you can read the back, ask the relative sitting next to you, or at least make an informed guess. The worst time is starting over on a finished folder of four hundred identically-named files with no memory of which was which.
If you are partway through a scanning project, build the folder structure now rather than after the last photograph is scanned. Rename and file each batch as you go, even if it slows the scanning session down. A batch renaming tool in most photo software can apply a consistent date and description prefix to a whole folder in one pass, so you are not typing four hundred filenames by hand, but you still need to supply the date and the description, which is the part that actually requires you.
Reorganising a finished archive is the job nobody finishes. It always looks smaller than it is until you are three folders in and the motivation that got you through the original scanning project is gone.
Keep originals and restored copies apart
Once photographs are organised, it is tempting to save time on any that need repair by editing them in place. Do not. Keep two clearly separated collections:
- A folder of untouched, original scans. This is the permanent record and the one thing you cannot recreate from anything else. If a print has visible fading, a guide to what DPI to scan at is worth reading before you rescan anything, since resolution is the one setting you cannot fix after the fact.
- A separate folder for anything colourised, retouched, or cropped. Restoration involves interpretation, however good the tool. Photographs that have gone faded or darkened with age often improve a great deal with a light touch, but the improved version is a copy with an opinion in it, not the record.
Mixing the two eventually causes an edited file to be mistaken for the archival original, which is the exact failure a careful folder structure was supposed to prevent. Our scan output calculator is a quick way to check how large the original folder will actually be before you commit to where it lives.
A structure that survives you, not just your current laptop
The point of all this is not tidiness for its own sake. It is that a folder structure this plain, decade folders, date-first filenames, originals kept apart from edits, needs no explanation. A relative who inherits this archive in thirty years, with no memory of the app or system you used to build it, can still make sense of it by opening a folder and reading a filename.
That is a higher bar than it sounds. Most personal organising systems are optimised for the person who built them, using conventions that live in that person’s head and nowhere else. This one is optimised for a stranger to your workflow, because eventually that is exactly who will be looking at it. Once the folders exist, back the whole thing up properly. Our guide to backing up scanned family photos covers the copy-in-three-places rule that actually protects the organising work you just did.
Common questions
- Should I organise scanned photos by date or by person?
- By date first, in almost every case. Most people in a family archive appear across decades, so a person-first structure forces the same photograph to live in several places or forces a choice about whose folder it belongs in. A date-first structure has exactly one right answer per file, even when that answer is a decade rather than a year.
- What if I do not know the exact date a photo was taken?
- Write down your best estimate and mark it as an estimate, rather than leaving the file unsorted until you are certain. "Circa 1978" sorts and searches perfectly well as 1978c, and an honest guess in a folder beats a correct date that only exists in your memory and dies with you.
- Is there a filename convention that actually works long term?
- Year-month-day first, then a short description, with no spaces or special characters. "1978-07-holiday-lake-house-01.jpg" sorts chronologically in any operating system with zero extra effort, and still means something after every piece of software that currently organises your library is gone.
- Should I organise the originals and the restored copies together?
- Keep them apart. One folder of untouched scans as the permanent record, and a separate folder for anything colourised, retouched or cropped. Mixing them means an editing mistake can eventually get confused for the archival file, which defeats the reason you kept an unedited scan in the first place.
- What is the fastest way to sort a box of old photos?
- Sort by decision rather than by date or person. Touch each photograph once and put it straight into one of four piles, scan now, scan later, needs repair first, or keep but do not scan. Dates and names can be added afterwards to whichever pile a photograph landed in. Sorting by decision first is what actually finishes, because it does not ask you to research anything before you can move on.
- Is it better to sort by date or by scanning first?
- Scan first, or at least decide to scan, before you try to date anything. Dating and identifying a photograph is slow work and it stalls the sort. Get every photograph into a decision pile in one pass, then let dating and captioning happen later against the scanned files, where it is far easier to compare prints side by side.
- Should I throw away duplicate photos?
- Not immediately. Put duplicates and near duplicates in their own pile rather than the bin, because a second print is sometimes a slightly better exposure, or the one copy that survived undamaged. Decide on duplicates last, after the rest of the box is sorted, when you have a clearer sense of what you actually have.
- What do I do with landscape and scenery photos with no people in them?
- They still belong in one of the four decision piles, just like any other print. A view of a house, a car or a street can be valuable evidence later for dating other photographs in the same box, so do not discard them on sight. If a print truly means nothing to anyone, that is a judgement to make once, at the end, not while you are still working through the box.