How to prepare old photographs for a memorial slideshow
You have two days, not two months. Here is the fastest honest path from a box of family photographs to a finished slideshow sequence, what resolution a screen actually needs, and why this is the one job to restore lightly rather than well.
Someone has died, and somewhere in the next few days a photo slideshow needs to exist for the service. You are the person who said yes, and you probably said yes while also arranging flowers, writing something to read aloud, and fielding calls from relatives who all remember a different version of the same photograph.
This is not the moment for a careful restoration project. It is the moment for a fast, honest method that gets a decent sequence of photographs onto a screen by the day it is needed, without wrecking the one chance you get to choose them well. Everything below is written for that timeline: a day or two, not a weekend, and definitely not a month.
The short version
Pull the photographs from whatever boxes and albums exist, choose roughly forty to ninety of them, photograph or lightly scan each one, put them in a rough chronological sequence, fix only the fading and glare that would stop someone recognising a face, and export at whatever size the venue or software asks for. That is the whole job. The rest of this guide is the detail behind each step, because under time pressure the detail is where people get stuck.
Start by lowering the bar on purpose
The slideshow has one job: run once, on a loop, on a screen nobody is going to study at full magnification. It does not need to be the best version of this project you could ever produce. It needs to exist by the date of the service.
Decide now that you are doing this job twice. Once fast, for the slideshow. Properly, later, for the archive, when there is no clock running. Trying to do the archival version this week is the single most common way this task stalls out at two in the morning with nothing finished.
Gather fast, choose by decade not by perfection
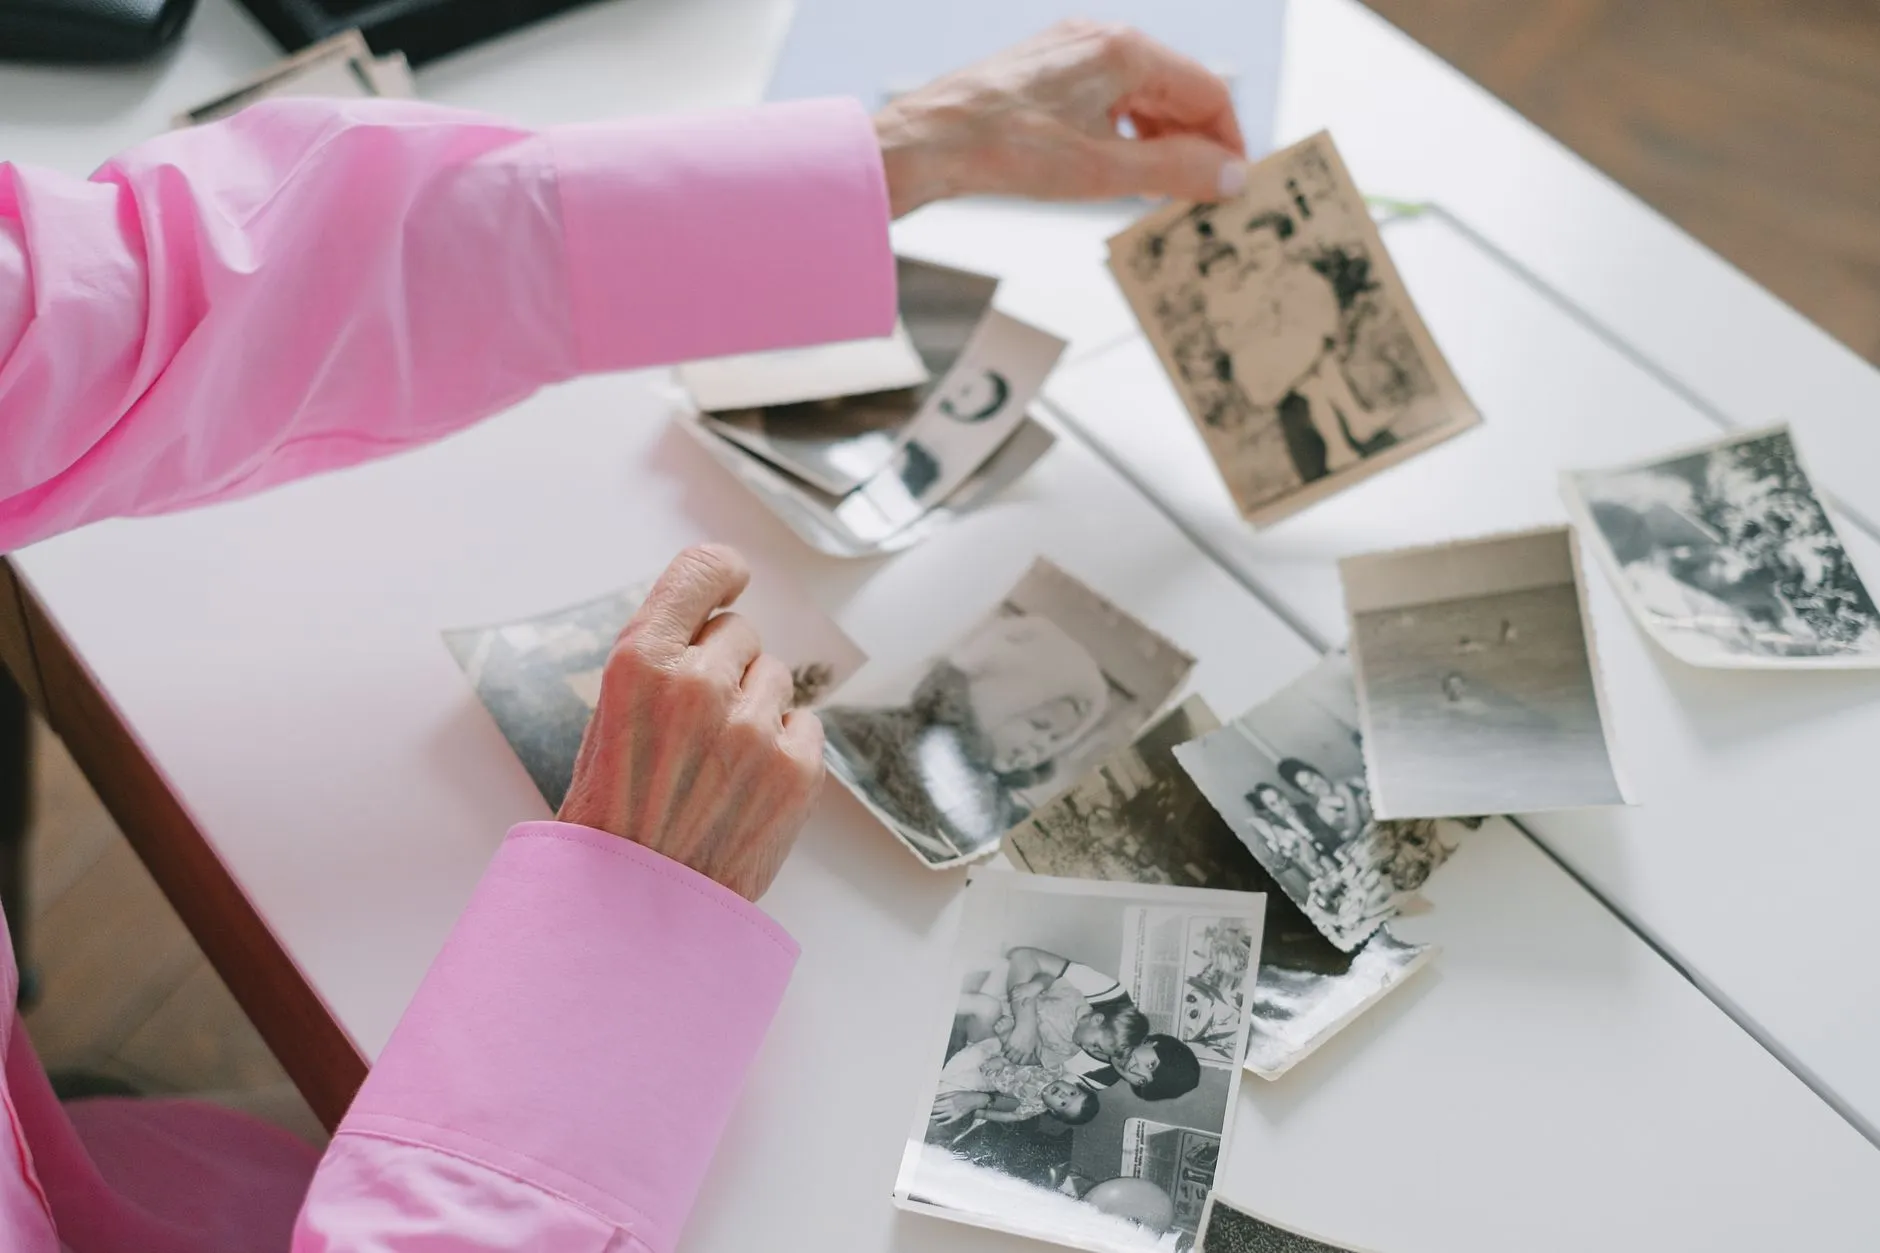
Pull every box, album and loose envelope you can find in the time you have. Do not sort yet, just collect. If other family members have photographs, ask them to send their best three or four rather than everything they own, since sorting through four people’s entire collections is its own project you do not have time for.
Once you have a pile, choose with a simple rule: at least a few photographs from each decade of the person’s life, weighted toward the ones where their face is clearly visible and the moment means something to people who will be in the room. A slightly blurry photograph of a grandfather holding a newborn beats a technically sharp photograph of a landscape he happened to be standing in front of. You are choosing for recognition and feeling, not for image quality.
If you are drowning in photographs and short on time, our guide on triaging a box of family photographs in an afternoon covers the same sorting instinct in more depth, for when there is slightly more breathing room than a funeral timeline allows.
Getting the prints onto a screen, the fast way
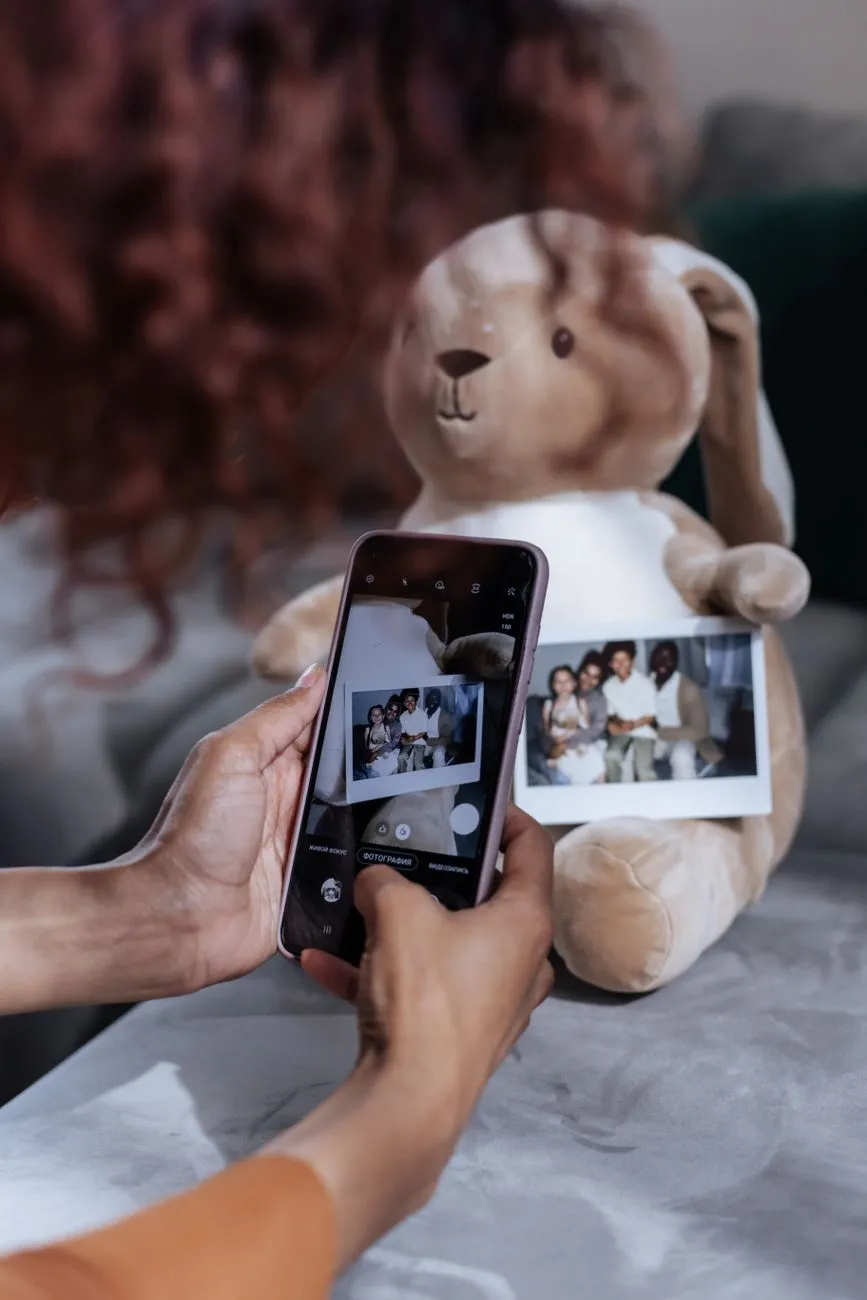
For a slideshow deadline, photographing each print with a phone beats scanning almost every time, even though scanning is usually the better habit.
A flatbed scan is flatter, more evenly lit and higher resolution than a phone photo of the same print, and all of that matters for an archival master you might enlarge and print one day. None of it matters for a slideshow, because a screen or projector only shows about two million pixels at most, and a reasonable phone photo clears that easily. Our photo scan pixel calculator will confirm this for any print size if you want the numbers rather than taking it on faith.
To photograph a print well in a hurry: lay it flat on a plain surface near a window but out of direct sun, turn off the flash, hold the phone directly above the print rather than at an angle, and fill the frame with the photograph so you are not cropping out detail later. Do a test shot first and check it is sharp and glare-free before working through the whole stack. Forty prints done this way takes well under an hour.
If a print is behind glass in a frame and you cannot safely remove it in the time available, photograph it through the glass at a slight angle to avoid a flash reflection, or with the room lights off and only window light. A glare-free capture of a framed print is good enough for this job even if it is not a proper scan.
What resolution actually matters here
People worry about resolution more than the venue ever will. A standard screen or projector shows roughly 1920 by 1080 pixels. Any photograph you capture at that size or larger, which is most phone photos taken in the last decade, already exceeds what the display can show. There is no benefit to rescanning at a higher setting for this specific use, and chasing one is how an afternoon disappears.
The one genuine resolution risk is the opposite problem: a photograph pulled from an old text message, a screenshot of a screenshot, or a thumbnail downloaded from social media. Those can be genuinely too small and will look soft or blocky on a big screen. If you are missing the original print for someone and only have a tiny digital copy, that is one of the few cases worth spending extra time on, because there is no better source to go back to.
Restore lightly, and know when to stop
This is the one place where the normal advice on this site, do it properly, do it once, does not apply. A heavily processed, AI-smoothed face is the wrong thing to project in a room full of people who are grieving and who knew exactly what that face really looked like. Over-restoration reads as fake at the worst possible moment.
Fix only what is actively stopping recognition:
Heavy fading or a dark cast. If a photograph has gone so flat or so dark that a face is hard to make out on a big screen, a quick auto-enhance pass is worth doing. Our page on faded and darkened photographs explains what is actually recoverable here and why it works so reliably, if you want to understand the fix rather than just apply it.
Glare from glass or a glossy surface. A bright blown-out patch across a face from a frame or a flash reflection is worth a second attempt at the photograph, or a quick crop around it, rather than letting it sit in the final sequence.
Obvious colour casts, particularly the orange shift that affects a lot of colour prints from the seventies and eighties, covered in why old photos turn orange. A one-click correction usually helps enough to be worth the thirty seconds.
Leave everything else. Do not chase scratches, do not fill torn corners, and do not colourise a black and white print this week. Our longer piece on free AI restoration tools explains why these tools are genuinely good at tonal fixes and genuinely prone to inventing a face that is not quite right when detail is badly degraded, which is precisely the risk you cannot afford to introduce into a photograph that is about to be shown to the people who loved that face most.
Putting the sequence together
A rough chronological order, earliest to most recent, is almost always the right structure. It gives the slideshow a shape, a life beginning and moving forward, without requiring you to make editorial decisions about which years or relationships mattered most. Where you genuinely do not know the date of a photograph, place it near others from a similar hairstyle, clothing or print format rather than guessing a specific year.
Group a cluster of childhood photographs together rather than alternating decades, since jumping backward and forward repeatedly is disorienting on a loop that people are watching while thinking about other things. A simple, steady march forward through time reads better in a grieving room than a clever structure would.
Most slideshow software and funeral home systems default to four to six seconds per image. At that pace, forty photographs run close to four minutes and ninety run closer to nine. Check with the venue what loop length they expect and trim your selection to fit rather than overfilling it, since a slideshow that is still running when everyone has moved on to the next part of the service is a small, avoidable awkwardness on an already hard day.
Exporting and handing it over
Export or save the final images at whatever size the venue’s system or your slideshow software specifies, and ask in advance rather than guessing, since some systems want a specific aspect ratio or file type. If nobody can tell you, 1920 by 1080 pixels per image, saved as JPEG, covers almost every projector and screen you will encounter.
Keep the original photographs and your phone captures somewhere safe afterward. The scanning and captioning you skipped this week, recording names, dates and relationships properly, is worth doing once things are calmer. Our guide on backing up scanned family photographs covers the slower, more careful version of this process for when you are ready for it.
The one thing worth remembering under this much time pressure
Nobody in that room will be grading the slideshow on resolution or restoration quality. They will be looking at faces they recognise, in roughly the order a life happened, finished and showing on time. That is a genuinely achievable goal in a day or two, and it is a far better use of the time you have than chasing a technically perfect result nobody asked for.
Common questions
- How many photos should be in a funeral slideshow?
- Most funeral homes and crematoriums run a slideshow on a loop of three to six minutes, which at four to six seconds per image is somewhere between forty and ninety photographs. If you have far more than that, pick the ones that show a life being lived across decades rather than trying to fit everyone in. A slideshow that races past faces nobody can place has failed at the one job it had.
- What resolution do I need for a funeral slideshow?
- Far less than people fear. A standard screen or projector shows roughly 1920 by 1080 pixels, so any photograph scanned or photographed at that size or larger is already enough. A phone photo of a printed photograph, taken in reasonable light, almost always clears this bar. Do not rescan a whole box in a panic to chase a resolution the screen cannot show anyway.
- Should I restore old photos before a funeral slideshow?
- Lightly, and only where it genuinely helps. Fix the things that stop someone recognising a face: heavy fading, a dark cast, visible glare from a glass frame. Leave fine detail work, face reconstruction and colourising for later, when there is time to check the result properly and no urgency pushing you to accept the first output a tool hands back.
- What is the fastest way to get printed photos into a slideshow?
- Photograph each print with a phone in good, even light rather than driving to find a flatbed scanner. A phone capture is lower quality than a proper scan, but a screen slideshow does not need proper-scan quality, and photographing forty prints takes under half an hour. Scan properly later, for the archive, when the deadline has passed.