The best way to restore old photos on an iPhone
A full workflow for restoring old family photos on an iPhone, from capturing the print to keeping a safe original, with an honest look at what a phone can and cannot do compared to a scanner.
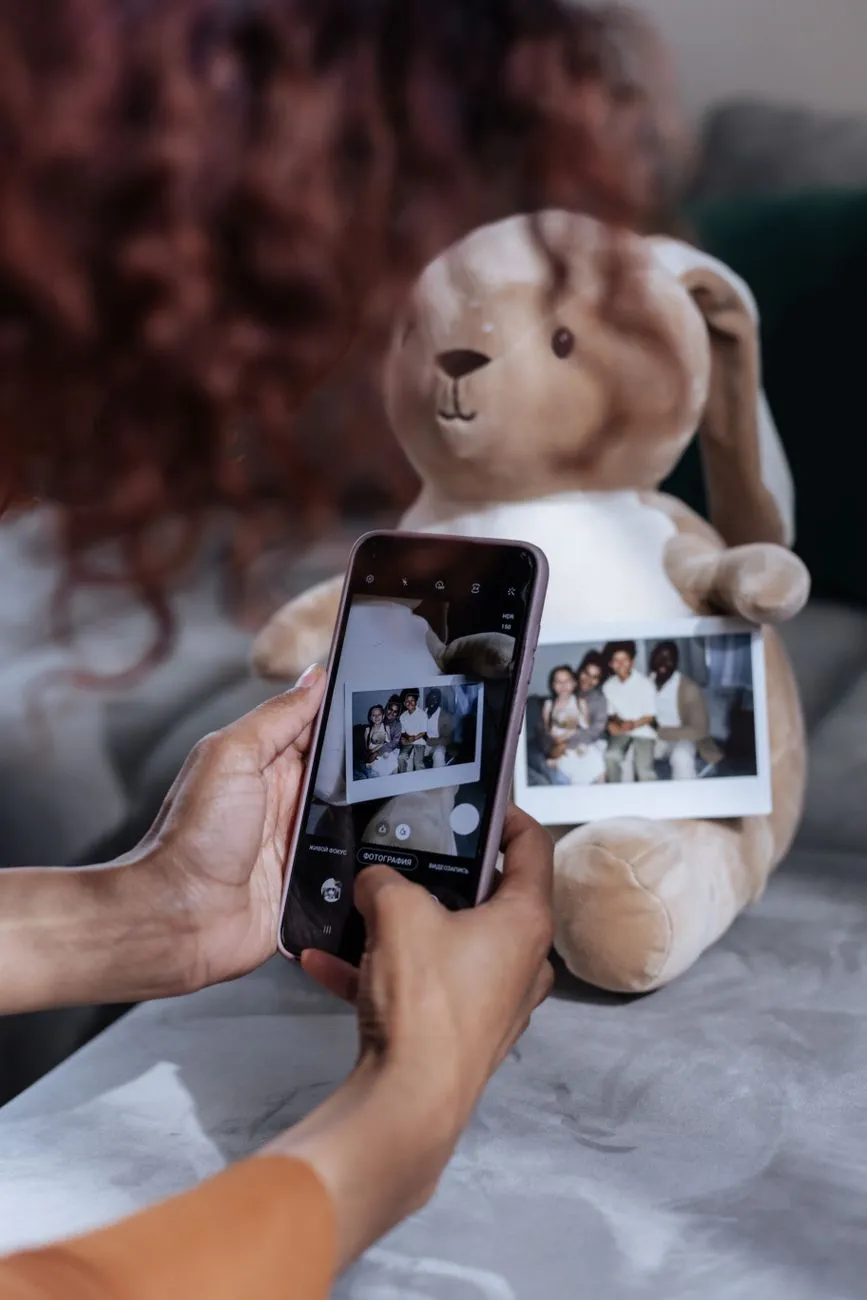
Most people who want to restore an old photograph are not sitting at a flatbed scanner. They are holding a phone, standing over a shoebox, wondering whether there is a way to do this properly without buying equipment. There is, and it holds up better than you might expect, provided you do the steps in the right order.
The whole workflow on one device
Restoring a photo on an iPhone is four steps, and skipping the first one is the mistake that undoes everything after it.
1. Capture or import. Either photograph the physical print with the camera, or import an existing digital photo of it if one already exists. This becomes your working file.
2. Straighten and crop. Old prints are rarely photographed dead-on. A few degrees of tilt and an uneven crop are easy to fix now and hard to fix once you have already applied restoration on top of a skewed image.
3. Restore. Run the actual repair: fading corrected, contrast rebuilt, scratches and spots removed, blur softened where possible. This is the step most apps put front and centre, but it is the third step, not the first.
4. Keep the original untouched. Save the restored version as a new file. Never let a restoration app overwrite the only copy of your capture. If a better tool exists in two years, you will want to run it against the clean capture, not against today’s edit.
That order matters more than which specific app you use. A great restoration model applied to a blurry, badly lit capture will still produce a mediocre result, because it is working from a poor source. Get the capture right and the rest gets easier.
Capturing a print well with your camera
A phone camera can produce a genuinely good source image if you control a few basics.
Light it evenly, without a flash. Direct flash bounces off glossy prints and creates a hotspot right where you least want one. Natural, diffuse light near a window works well. Overcast daylight is closer to ideal than bright sun, which causes glare on any print with a shine to it.
Shoot square-on, not at an angle. Position the phone directly above the print, parallel to its surface, rather than tilted. An angled shot introduces perspective distortion that software has to guess its way out of later.
Fill the frame. Get close enough that the print takes up most of the shot. You can crop tighter later, but you cannot add resolution the camera never captured.
Use the highest resolution your phone offers, and avoid digital zoom entirely. Move closer instead of zooming in. If you want a sense of what resolution a given capture actually equates to in print terms, the scan output calculator translates pixel dimensions into printable sizes, useful whether the source was a scanner or a camera.
When photographing beats scanning
A flatbed scanner is the better tool in most cases: even lighting, a flat surface, no lens distortion, and a predictable result every time. But there are real situations where a phone camera is the more sensible choice, not just the more convenient one.
The print will not lie flat. Curled, warped or mounted photographs can crack under a scanner lid if forced flat. A camera photographs them exactly as they sit.
The print is larger than the scanner bed. Oversized portraits and mounted studio prints often exceed a standard flatbed entirely. A camera has no such limit.
The print is too fragile to press under glass. Brittle, flaking or actively deteriorating photographs can lose material under scanner pressure. Photographing them from above avoids any contact at all.
You want a result today. Sometimes the honest answer is that you do not own a scanner and are not going to buy one for a handful of photos. A careful phone capture, done well, beats an archival scan that never happens.
None of this makes a phone capture equal to a scan for a collection you intend to keep for decades. It makes it the right tool for specific, common situations, which is a different and more useful claim.
Where an app like ours fits
We make Photo Restore, an iPhone and iPad app that captures, straightens and restores a photograph in one place, without needing a laptop or separate software. That is a genuine convenience for exactly the workflow described above: capture on the device already in your hand, restore in the same session, and export a result in minutes.
It is one option among several, not the only answer. A desktop tool with a bigger screen can be easier to judge fine detail against. A free browser-based restorer may be all you need for a single lightly faded snapshot, and our honest look at free AI restoration tools covers what those handle well and where they fall short. What a phone app adds is speed and the fact that the camera and the restoration tool are the same device, which removes a transfer step that trips people up more often than you would expect.
Fading and low contrast, the most common damage in family collections, is genuinely the strength of AI restoration generally, phone-based or otherwise. Our guide on fixing faded and darkened photos shows real before and after examples of exactly that kind of recovery, and it is worth reading before you decide whether a quick phone workflow will be enough for a particular photograph or whether it deserves a proper scan first.
Keep the capture, not just the result
Whatever tool you end up using, the habit that protects you is the same one that applies to scanning: treat the capture as the archive and the restoration as a version of it. Restoration models improve every year, and a photograph restored today with a phone app can be restored again in five years from the same clean capture, with a better result and no further risk to the physical print. The capture is the asset. Everything you do to it afterwards is a copy of an opinion about how it should look, and opinions are worth revisiting.
Common questions
- Can I really restore old photos well using only an iPhone?
- For most everyday damage, yes. Fading, low contrast, mild scratches and general softness all respond well to phone-based restoration apps. Where a phone workflow struggles is physical damage with missing pieces and heavily degraded faces, the same limits that apply to any one-click tool regardless of device.
- Should I photograph old prints with my phone or use a flatbed scanner?
- Use a flatbed when you can. It lights the print evenly, holds it flat and avoids lens distortion. Photograph with your phone when the print is too large, too brittle to press under a lid, or curved, or when you simply do not own a scanner and want a result today rather than next weekend.
- What is the single most important step before restoring anything on a phone?
- Capture a clean, well-lit master image and save it somewhere separate from the version you are about to edit. Every restoration app changes the file it works on. If that file is your only copy, a bad edit or an app you later replace can cost you the original for good.
- Does the Photo Restore app replace a proper scan?
- No, and it does not try to. It is one option in a workflow, useful for capturing and restoring a print in minutes on the device already in your pocket. For a collection you plan to keep for decades, a flatbed scan at a proper resolution is still the more durable starting point.