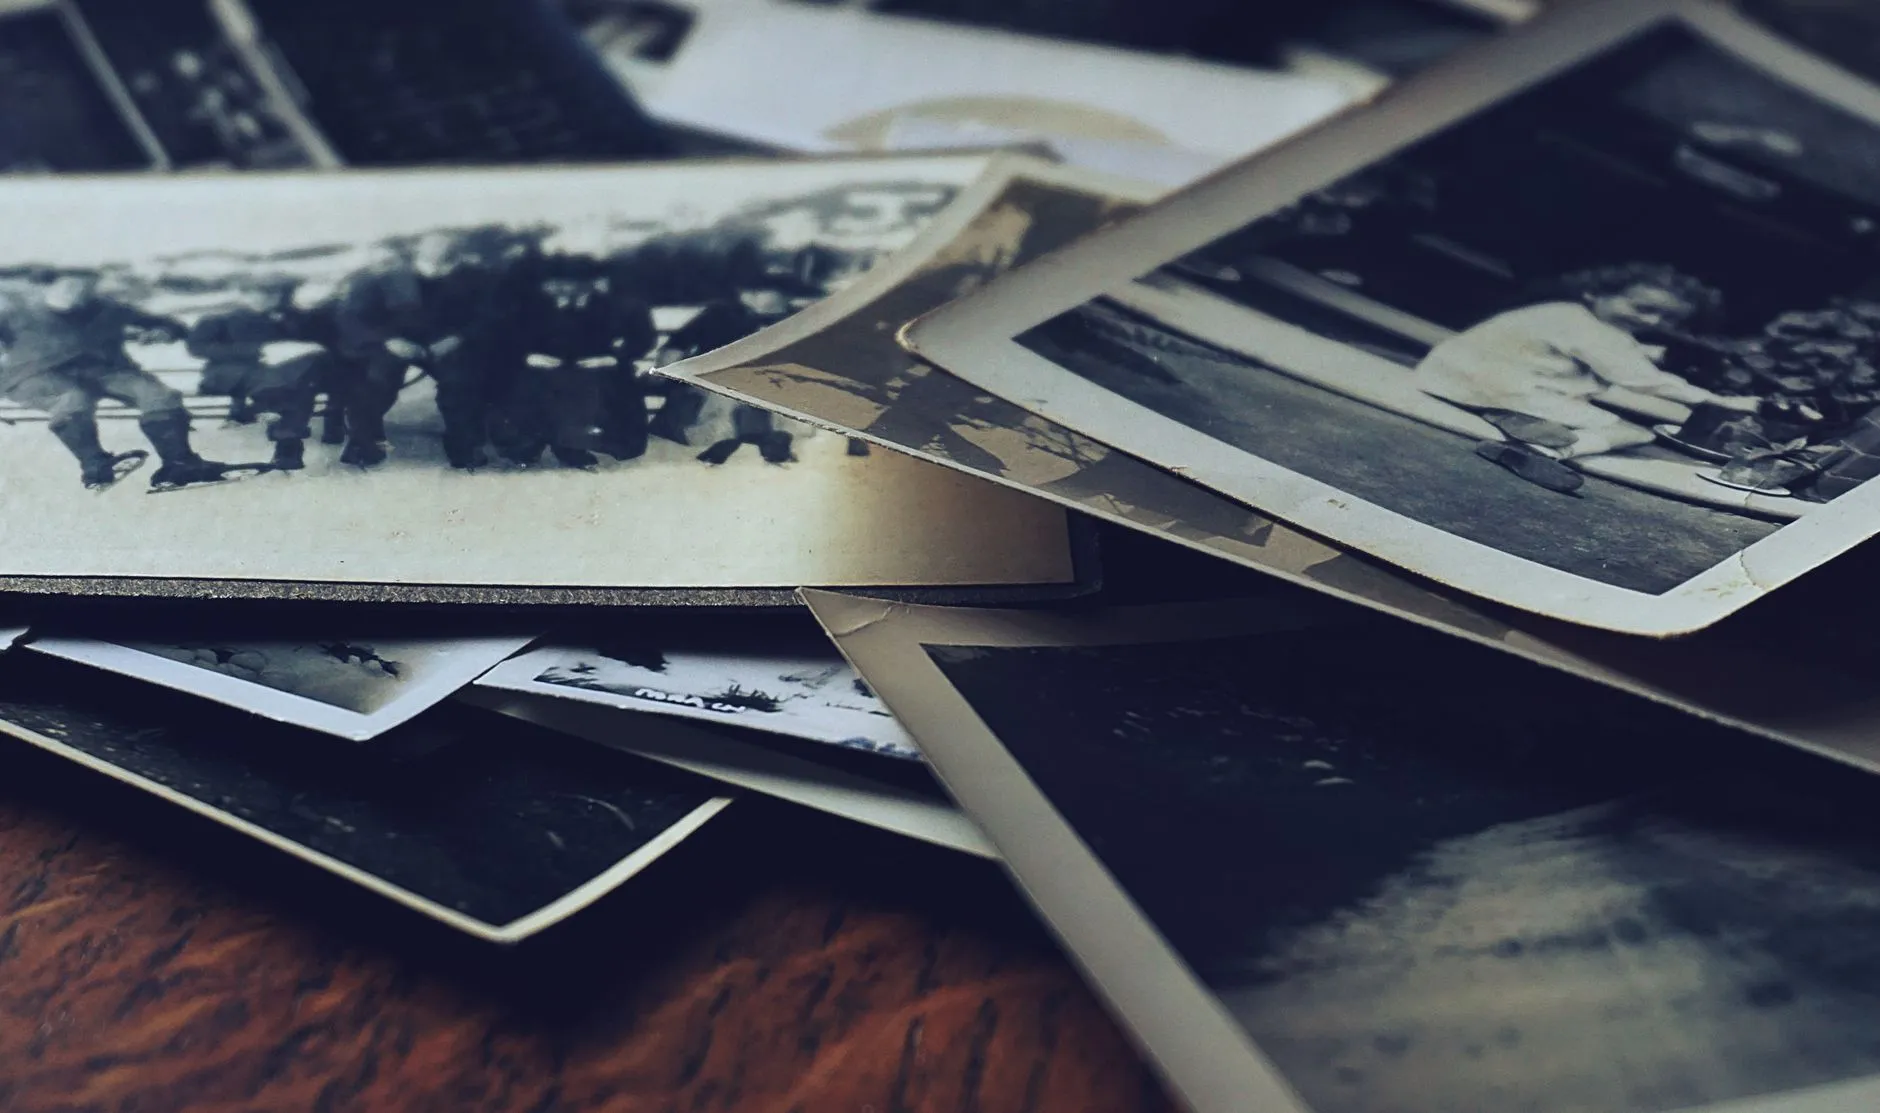
How to flatten a curled or rolled photograph
Old prints curl because paper and emulsion pull against each other as humidity changes, and a tightly rolled print is the dangerous end of that same problem. Here is why it happens, the slow humidity method that flattens a print without cracking it, and what to never try instead.
A curled photograph looks like a minor inconvenience, a print that will not sit flat in an album or under a scanner lid. Sometimes that is all it is. Sometimes the same photograph has been rolling itself tighter for years and is one impatient uncurl away from cracking straight across a face. The difference is not obvious from a glance, which is exactly why it is worth understanding what curling actually is before you do anything to fix it.
Why photographs curl in the first place
A photographic print is not one material, it is two, glued together. A base layer of paper sits under a thin layer of gelatin emulsion, the same protein that holds the image. Paper and gelatin absorb and release moisture from the air at different rates and by different amounts, and that mismatch is the entire cause of curling.
In humid air, the paper backing tends to expand more than the emulsion facing it. In dry air, it is often the reverse. Whichever side changes size faster pulls the print toward itself, and the sheet bows away from flat to relieve that stress. Most prints curl toward the emulsion side, image in, because gelatin generally shrinks harder in dry conditions than the paper backing does. This is why a photograph pulled out of a hot, dry attic or a car often comes out curled tighter than one that has sat in a stable room.
A gentle curl is completely normal in a print that has never been kept perfectly flat. It becomes a genuine problem when it has been held in that shape long enough, usually through repeated humidity cycles over years, for the paper fibres themselves to set into the curved position. At that point the print is not just bent, it wants to be that shape, and that wanting is what makes flattening it correctly worth doing slowly.
The dangerous case: a tightly rolled print
Most curl is mild, a gentle bow you can flatten under a book overnight without much thought. A small number of photographs, usually ones that were actually stored rolled, in a tube or loosely coiled in a drawer, are a different problem entirely. A print rolled tight enough that it holds a cylinder shape on its own has spent years with its emulsion under continuous tension along the inside of the curve.
That tension is the reason a tightly rolled photograph is genuinely fragile in a way a gently curled one is not. Unroll it too fast, or from the wrong end, and the emulsion can crack in a fine web across the image, the same way old varnish crazes on a painting. Sometimes the cracking is invisible until the print is fully flat, which is a bad moment to discover it. The deterioration and mottling page covers what an emulsion breakdown like this looks like once it has happened, and the honest answer is that a cracked print is a much harder repair than a curled one, so the goal here is to never get there.
If a print is rolled tightly enough to hold its own shape, treat it as the delicate case for the rest of this guide. It is worth the extra patience.
What never to do
Three moves feel like obvious shortcuts and each one reliably makes curling worse rather than better.
Never force a roll open dry. Cold, dry paper and gelatin resist bending and crack instead of flexing when pushed past their set curve. This is the single most common cause of damage in this whole category, someone unrolling a stubborn photograph by hand to see what is on it.
Never use heat. A hairdryer, an iron, a radiator, direct sun through a window. Heat can soften gelatin unevenly, and on some prints it can glaze or partially melt the emulsion surface. It also does not actually fix the underlying cause, the moisture imbalance between paper and emulsion, so any flattening it produces tends to reverse itself soon after.
Never wet a print all over to relax it. This is different from the controlled humidity method below. Splashing or soaking a print you are only trying to flatten introduces the exact risks covered in our guide on water damage and ring stains, for a problem that did not require water at all. Ambient humidity, not liquid water, is the right tool here.
The slow humidity method, step by step
This works on the same principle that caused the curl, moisture exchange between the print and the air, run in reverse and under control.
- Place the print in a closed, humid space. A plastic tub with a shallow dish of water set beside it, not touching the print, with the lid on, works well for a single photograph. For several prints, a small enclosed room with a humidifier running is more practical. The water is there to raise the humidity in the enclosed air, not to touch anything.
- Leave it for several hours, checking periodically. Depending on how set the curl is, softening can take anywhere from a few hours to most of a day. Check every hour or two rather than opening the container constantly, since each check lets humidity escape.
- Test gently at one edge. You are feeling for flexibility returning, not for the curl to have vanished. The print should bend without resistance rather than springing straight back the moment you release it.
- Once it flexes easily, move it to a flat, padded surface. Lay the print face up between sheets of plain, unprinted paper or blotting paper, not directly on a hard surface.
- Weight it evenly. Place a flat board or a stack of books wrapped in paper over the whole print, spreading the weight across the surface rather than concentrating it at the centre or edges. Avoid anything with texture pressing directly on the image side.
- Leave it under weight for days, not hours. A mild curl may relax fully in two or three days. A print that was genuinely rolled can take a week or more, and checking too early and re-curling it resets the clock. Patience here is doing almost all of the actual work.
- Check periodically and change the interleaving paper if it feels at all damp, since a flattening print releasing moisture slowly is exactly what you want, trapped against damp paper is not.
Work one print at a time through this process if you can. Stacking several curled photographs together to flatten as a batch usually means the ones in the middle never fully soften, and you end up reopening the container repeatedly, which slows everyone down.
Scan it before you fully trust the flattening
A print that has just come out from under weight is often flat enough to scan even before you are confident it will stay that way permanently. Get the digital copy while it is flat. Our scan DPI advisor will give you the right setting for the print size in front of you, and scanning now means the archive copy exists even if the print relaxes back toward a gentle curl over the following weeks, which does happen with prints that were rolled for a very long time.
Keeping it flat afterwards
A print that has just been flattened is more prone to curling again than one that was never bent, at least for the first few months, because the fibres are still settling into their new shape. Store it flat rather than upright immediately after flattening, under light interleaved weight if you have the space, and in a stable environment rather than anywhere that swings between damp and dry. Our guide on how to store old photographs covers the humidity, temperature and enclosure choices that stop this kind of damage from starting again, which matters more here than for a print that was never curled in the first place.
If the same box that produced a rolled photograph also has prints stuck together, that is the same humidity story showing up as a different symptom. Our guide on separating photographs that have stuck together covers the fused case, and the two problems are worth solving with one storage fix rather than two separate ones.
The one thing worth remembering
Curling is slow damage, so the fix has to be slow too. A photograph that took years of humidity cycles to set into a curve is not going to flatten safely in an afternoon, and every shortcut in this guide, force, heat or a quick soak, trades a small amount of your time for a real risk of cracking the one thing you are trying to save. Humidity, weight and patience get there without exception.
Common questions
- How do I flatten a curled photo without damaging it?
- Slowly, with humidity rather than force. Place the print in a closed container with a shallow dish of water nearby but not touching it, or a humidity chamber, for several hours to a day, then press it flat under boards and light, even weight while it dries. Never force a curl open dry, and never use heat.
- Can I iron a curled photograph flat?
- No. Heat softens and can melt the emulsion layer, and even on the lowest setting an iron risks scorching, glazing or fusing the print to whatever is underneath it. Heat is one of the two things that reliably makes curling worse, alongside forcing the roll open by hand.
- How long does it take to flatten a rolled photo?
- Longer than most people expect. Ambient humidity needs several hours to a day just to soften the curl enough to begin unrolling it safely, and the flattening weight afterwards should stay on for several more days, sometimes over a week for a tightly rolled print. There is no fast honest version of this.
- Is it safe to flatten a very tightly rolled old photograph myself?
- For a scroll-tight roll on a print you consider irreplaceable, get advice from a photograph conservator before attempting it at home. A tight roll that has held its shape for years is under real structural stress, and unrolling it too fast is how the emulsion cracks. Scan or photograph it in its rolled state first so you have a safe copy regardless of what happens next.