How to restore a torn photograph
A torn print is one of the most fixable kinds of damage, provided you handle the original correctly first. Here is the order to do things in, from the shoebox to the finished copy.
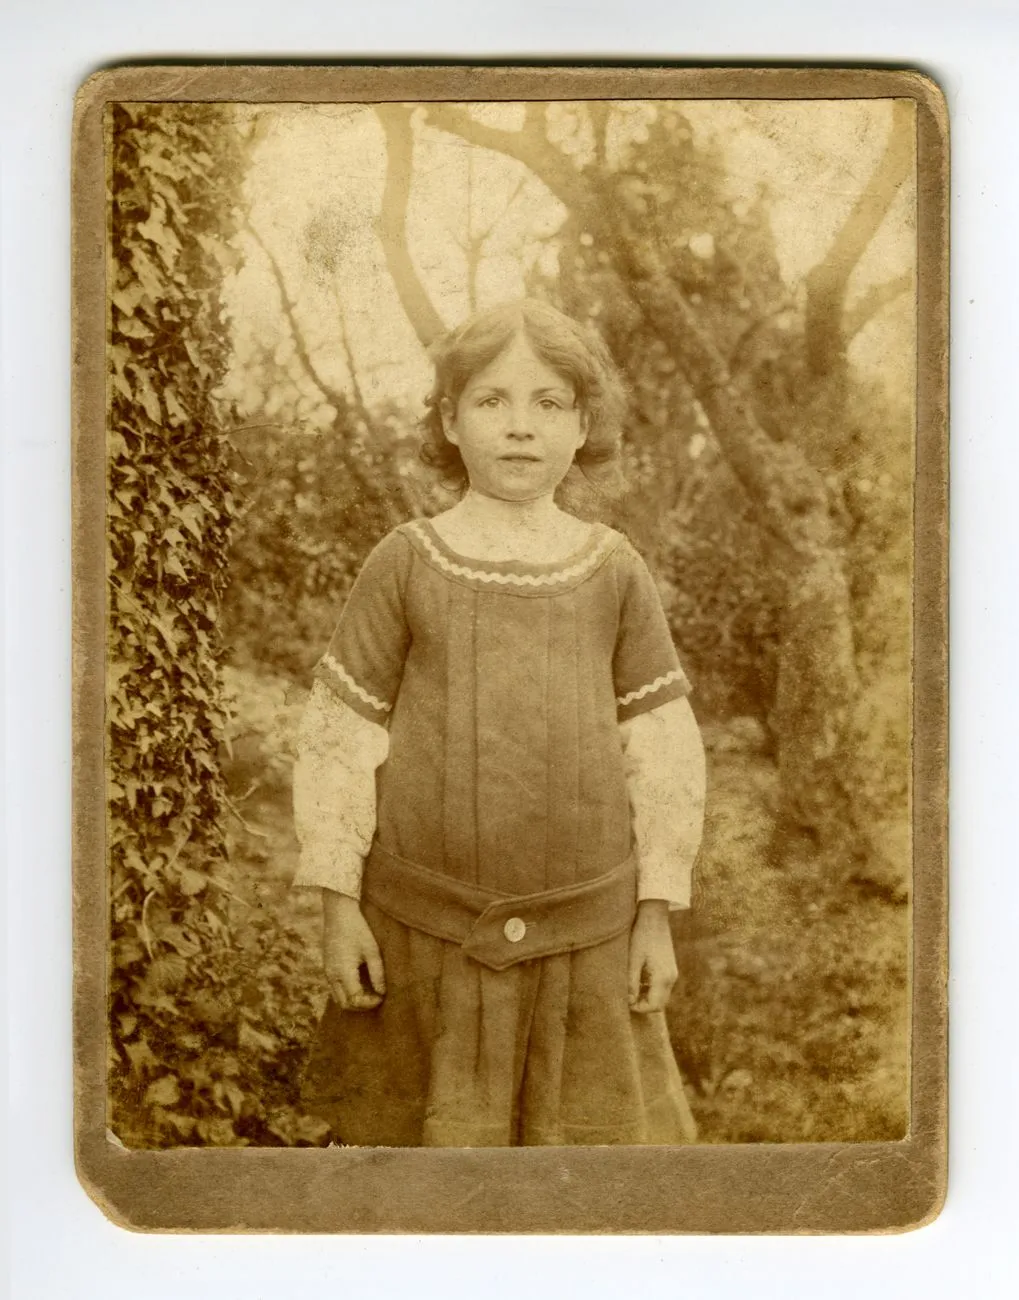
A tear is the damage people panic about most and, ironically, one of the easiest to repair well. Unlike heavy fading or mould, the information is usually still there. It has simply been separated into two pieces. The job is to put the pieces back together digitally without damaging the original any further.
Almost all of the harm done to torn photographs happens in the first ten minutes, by someone trying to be helpful.
First, stop and do no harm
Before any restoration, protect the original:
- Do not use sticky tape. It is the single most common mistake. Tape yellows, and its adhesive soaks into the paper over years. Removing it later lifts the image layer off with it.
- Do not trim the ragged edges. Those fibres carry image detail that helps software align the pieces.
- Do not glue anything. Ever.
- Wash and dry your hands, and handle the print by its edges. Skin oils etch into emulsion surprisingly quickly.
If the print is in several pieces, lay them in a paper envelope rather than a plastic sleeve. Plastic traps moisture against the surface.
Scan it before you fix it
Restoration happens on a copy. The original never gets edited, and never gets thrown away.
- Assemble the pieces face-down on the scanner glass, edges touching as closely as you can manage. Let the closed lid hold them flat. No tape needed.
- Scan at 600 DPI minimum, 1200 if the print is small or you may want to print it larger than the original.
- Save as TIFF or PNG, not JPEG. JPEG throws away detail every time it saves, and you are about to edit this file repeatedly.
- Scan in colour even for black and white prints. Colour scanning captures the paper’s tone and the stains in it, which gives repair tools more to work with.
The scan is now your master. Label it clearly, back it up, and leave it alone. Every edit from here happens on duplicates.
Closing the tear
With a good scan, the repair is three steps in roughly this order:
1. Align the pieces. If the halves scanned as one image with a visible seam, you can skip ahead. If you scanned them separately, layer them and rotate until the seam lines up on recognisable detail: a doorframe, a hemline, a horizon.
2. Fill the gap. The white line where paper is missing needs to be replaced with plausible detail. Traditional tools like the clone stamp copy from nearby areas, which works beautifully across simple textures like sky, wall and fabric, but poorly across faces. AI-based repair tends to do better on complex areas because it reconstructs from what it has learned about photographs generally rather than just copying neighbouring pixels.
3. Even out the tone. Tears usually come with age: a slight colour shift on one piece, or grubby edges. Correct the whole image last, once it is whole, so both halves shift together.
Where each approach falls down
Being honest about limits saves a lot of wasted evenings.
- Manual repair in a desktop editor gives the most control and the best results on difficult images, but it takes real skill and often an hour per photograph.
- Automatic AI repair is dramatically faster and now genuinely good, but it can smooth fine detail and will confidently invent things across faces. Always compare against the original.
- Professional restoration services are the right answer for a handful of truly irreplaceable prints, at roughly A$40 to A$150 each.
- Nothing recovers what is not there. If a piece is missing entirely, every tool is guessing. A good guess, but a guess.
The one step people skip
Print the result, and store the original properly. A restored file on a phone that gets lost in two years has not really been saved. Keep the master scan in two places, and put the original print flat in an acid-free envelope, away from heat and daylight.
That is the whole job: protect, scan high, repair on a copy, and be honest about what was reconstructed rather than recovered.
Common questions
- Should I tape a torn photo back together?
- No. Sticky tape yellows, its adhesive migrates into the paper fibres, and removing it later takes emulsion with it. If you must hold pieces together for scanning, position them on the scanner bed and let the lid provide the pressure, or use a strip of archival paper tape on the BACK only, never the image side.
- Can a photo torn straight through a face be repaired?
- Usually yes, though it is the hardest case. Where the tear crosses skin or an eye, software has to invent detail rather than copy it from nearby. Expect a good result rather than a perfect one, and keep the scan of the original so a better tool can try again in a few years.
- Is it better to scan or photograph a damaged print?
- Scan whenever you can, at 600 DPI or higher. A flatbed holds the print flat, lights it evenly and avoids the lens distortion and reflections that phone photos introduce. Photograph it only when the print is too brittle or too large for the scanner.